From Tote Bag to Tissue Pouch
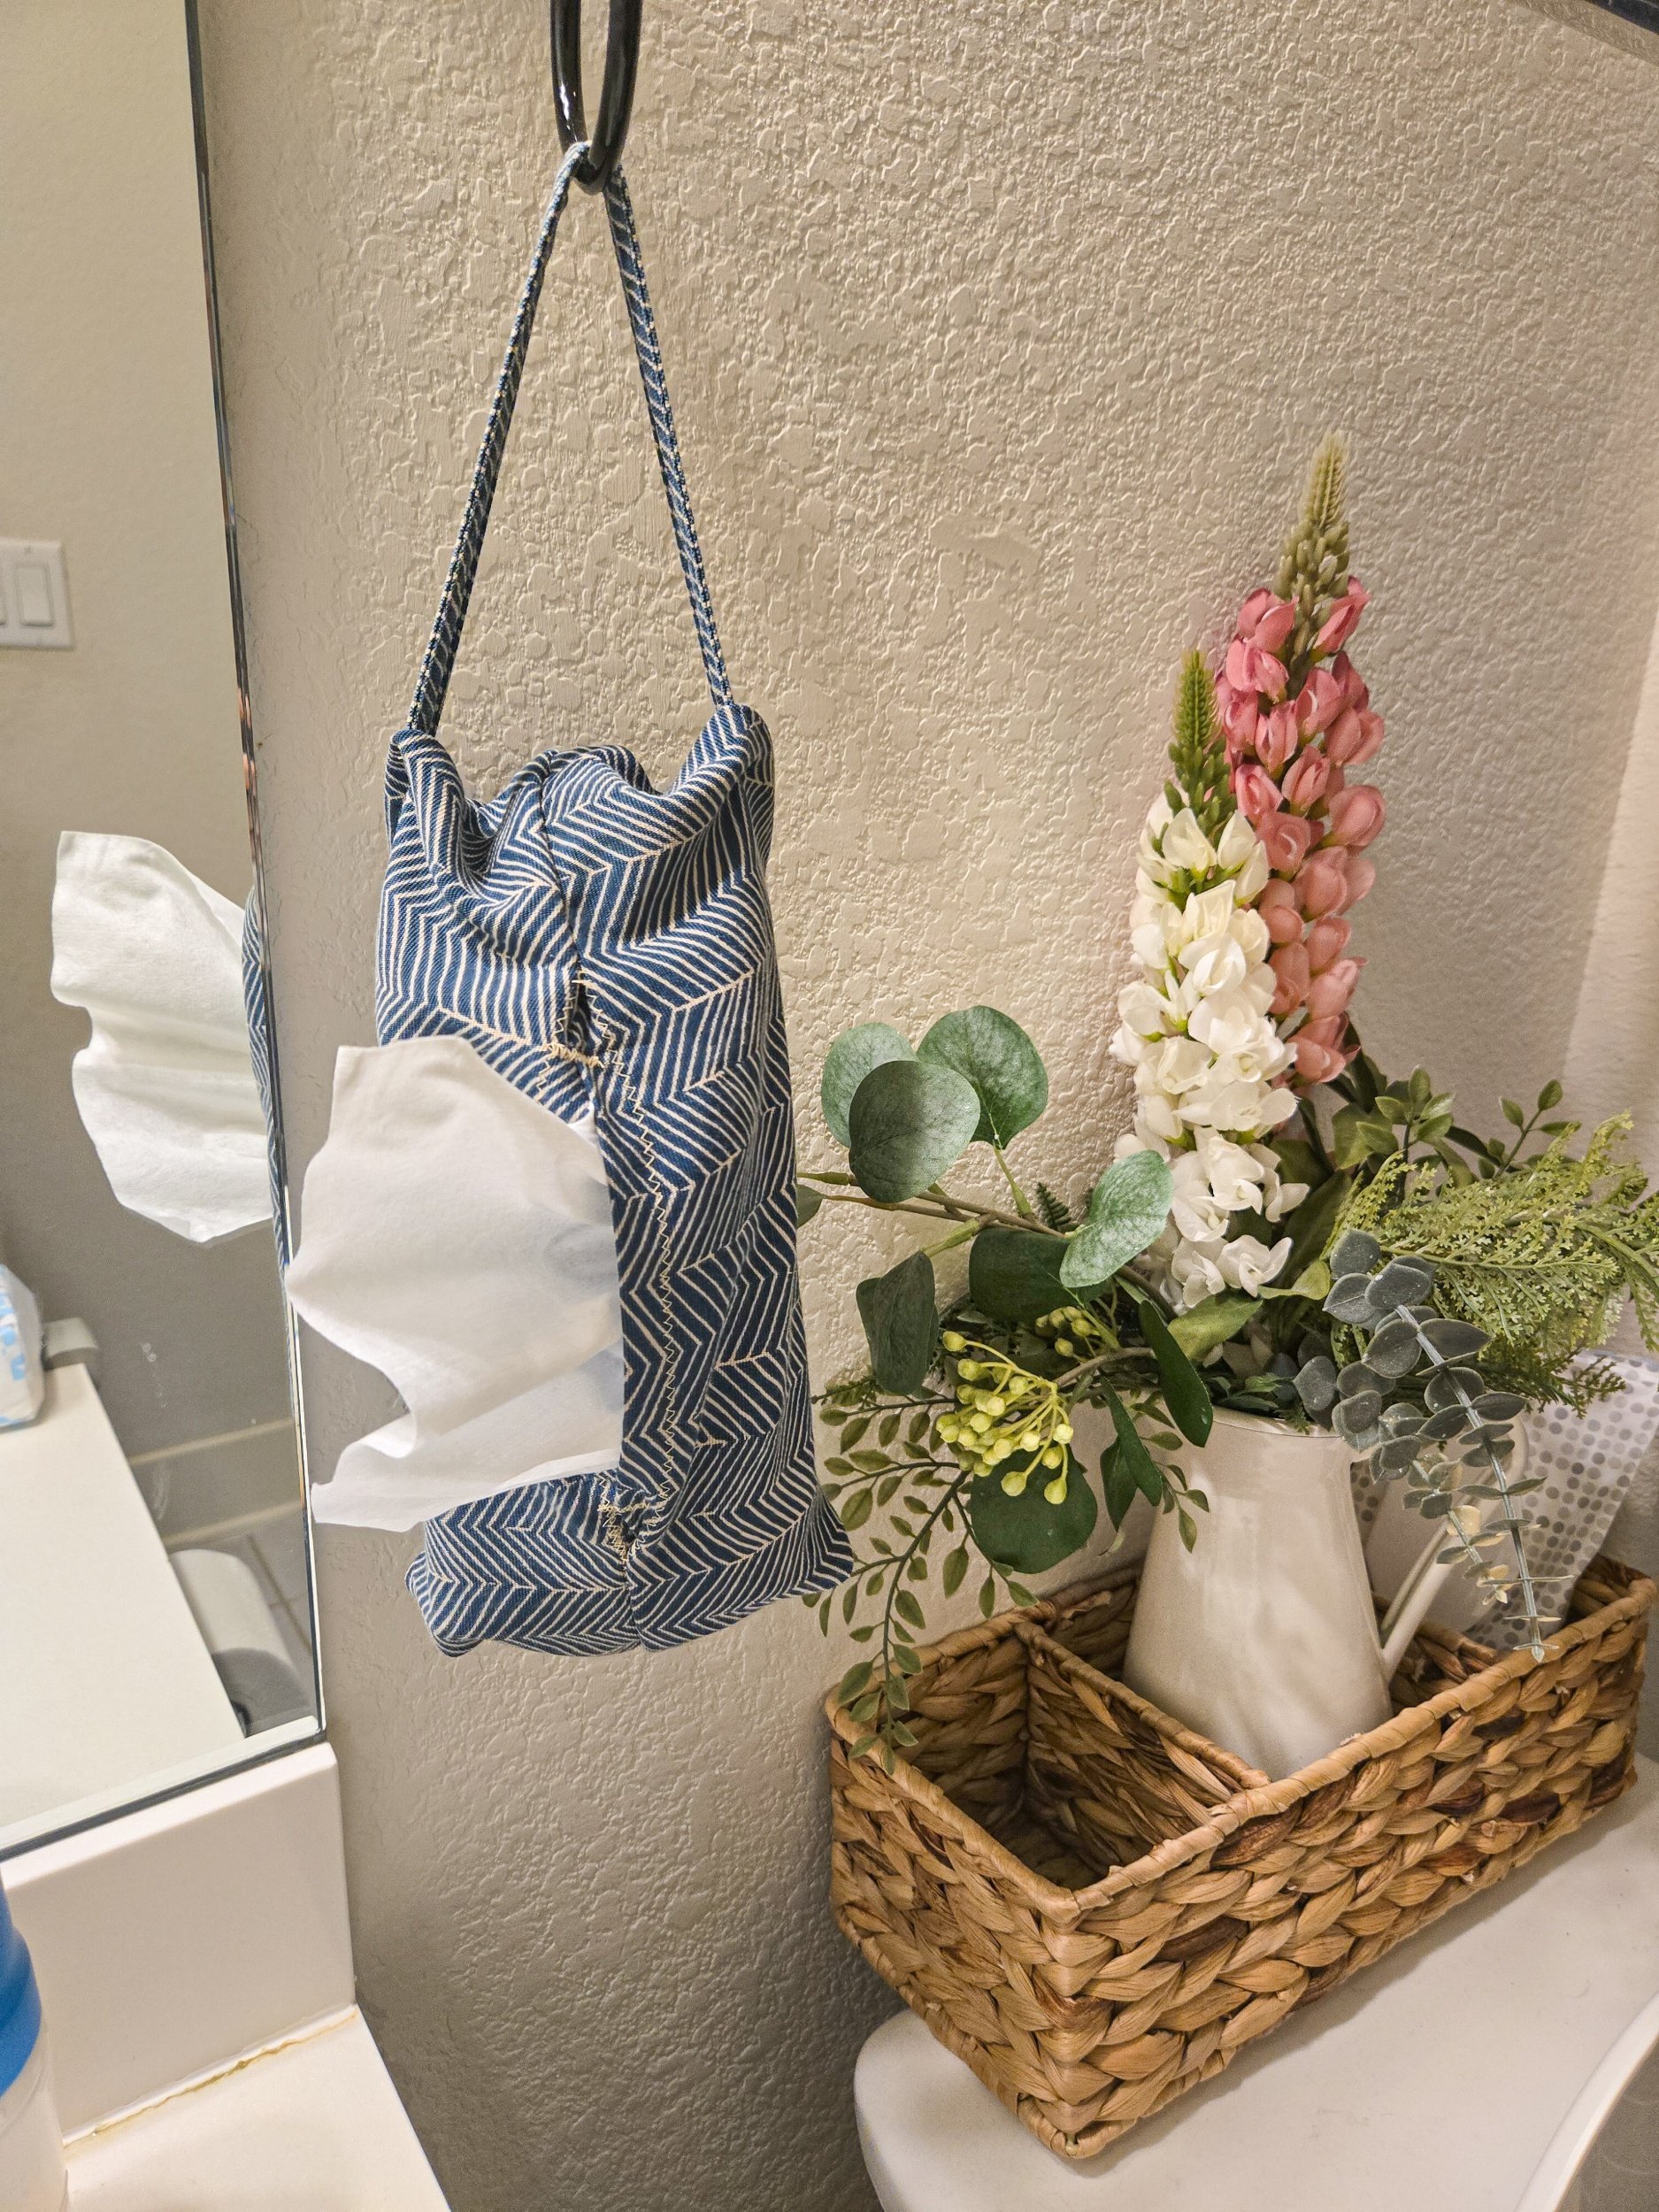
I'd actually been looking at tissue pouches on Amazon for a while. But I kept coming back to this IKEA tote sitting in the closet — the blue and cream chevron print has always felt a little Japanese-textile to me, too nice for a $2 grocery bag.
I didn't want to see it worn out and thrown away, so I decided to try turning it into something instead. I didn't have a full plan going in, just figured out each next step as I went. The whole thing came together in about an hour on a Friday afternoon, in that quiet window after work before the kids got home from summer camp.
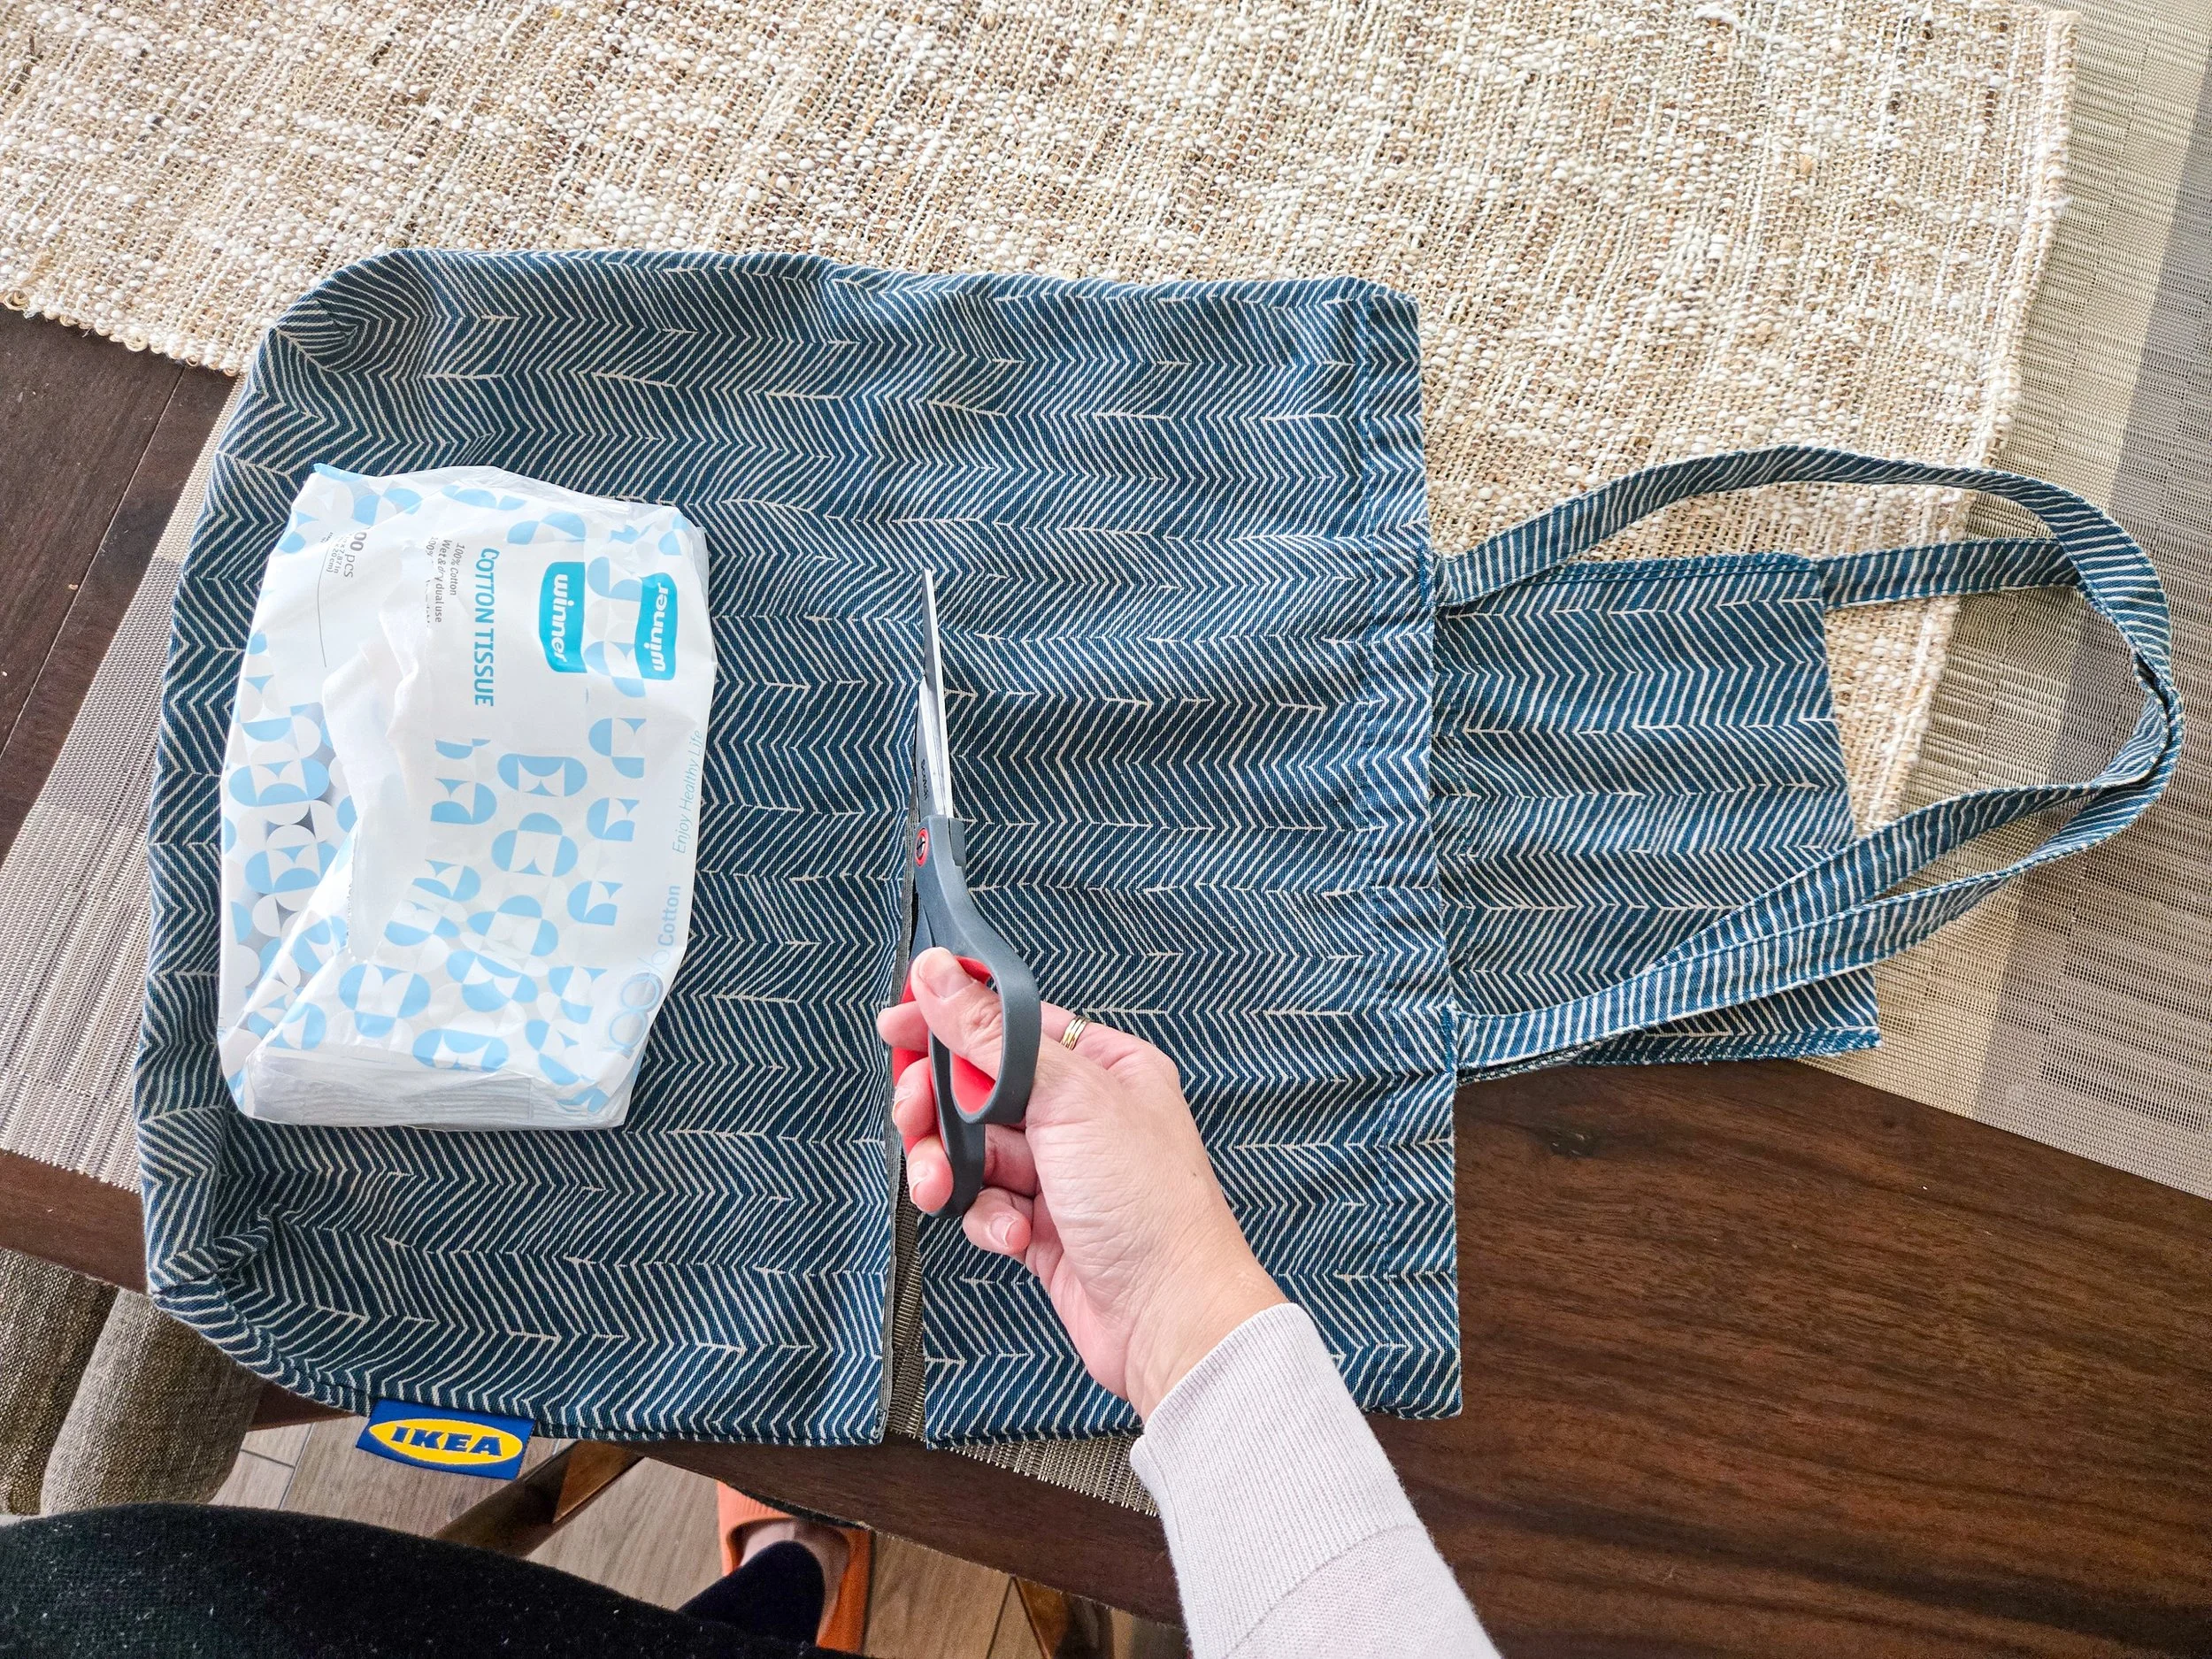
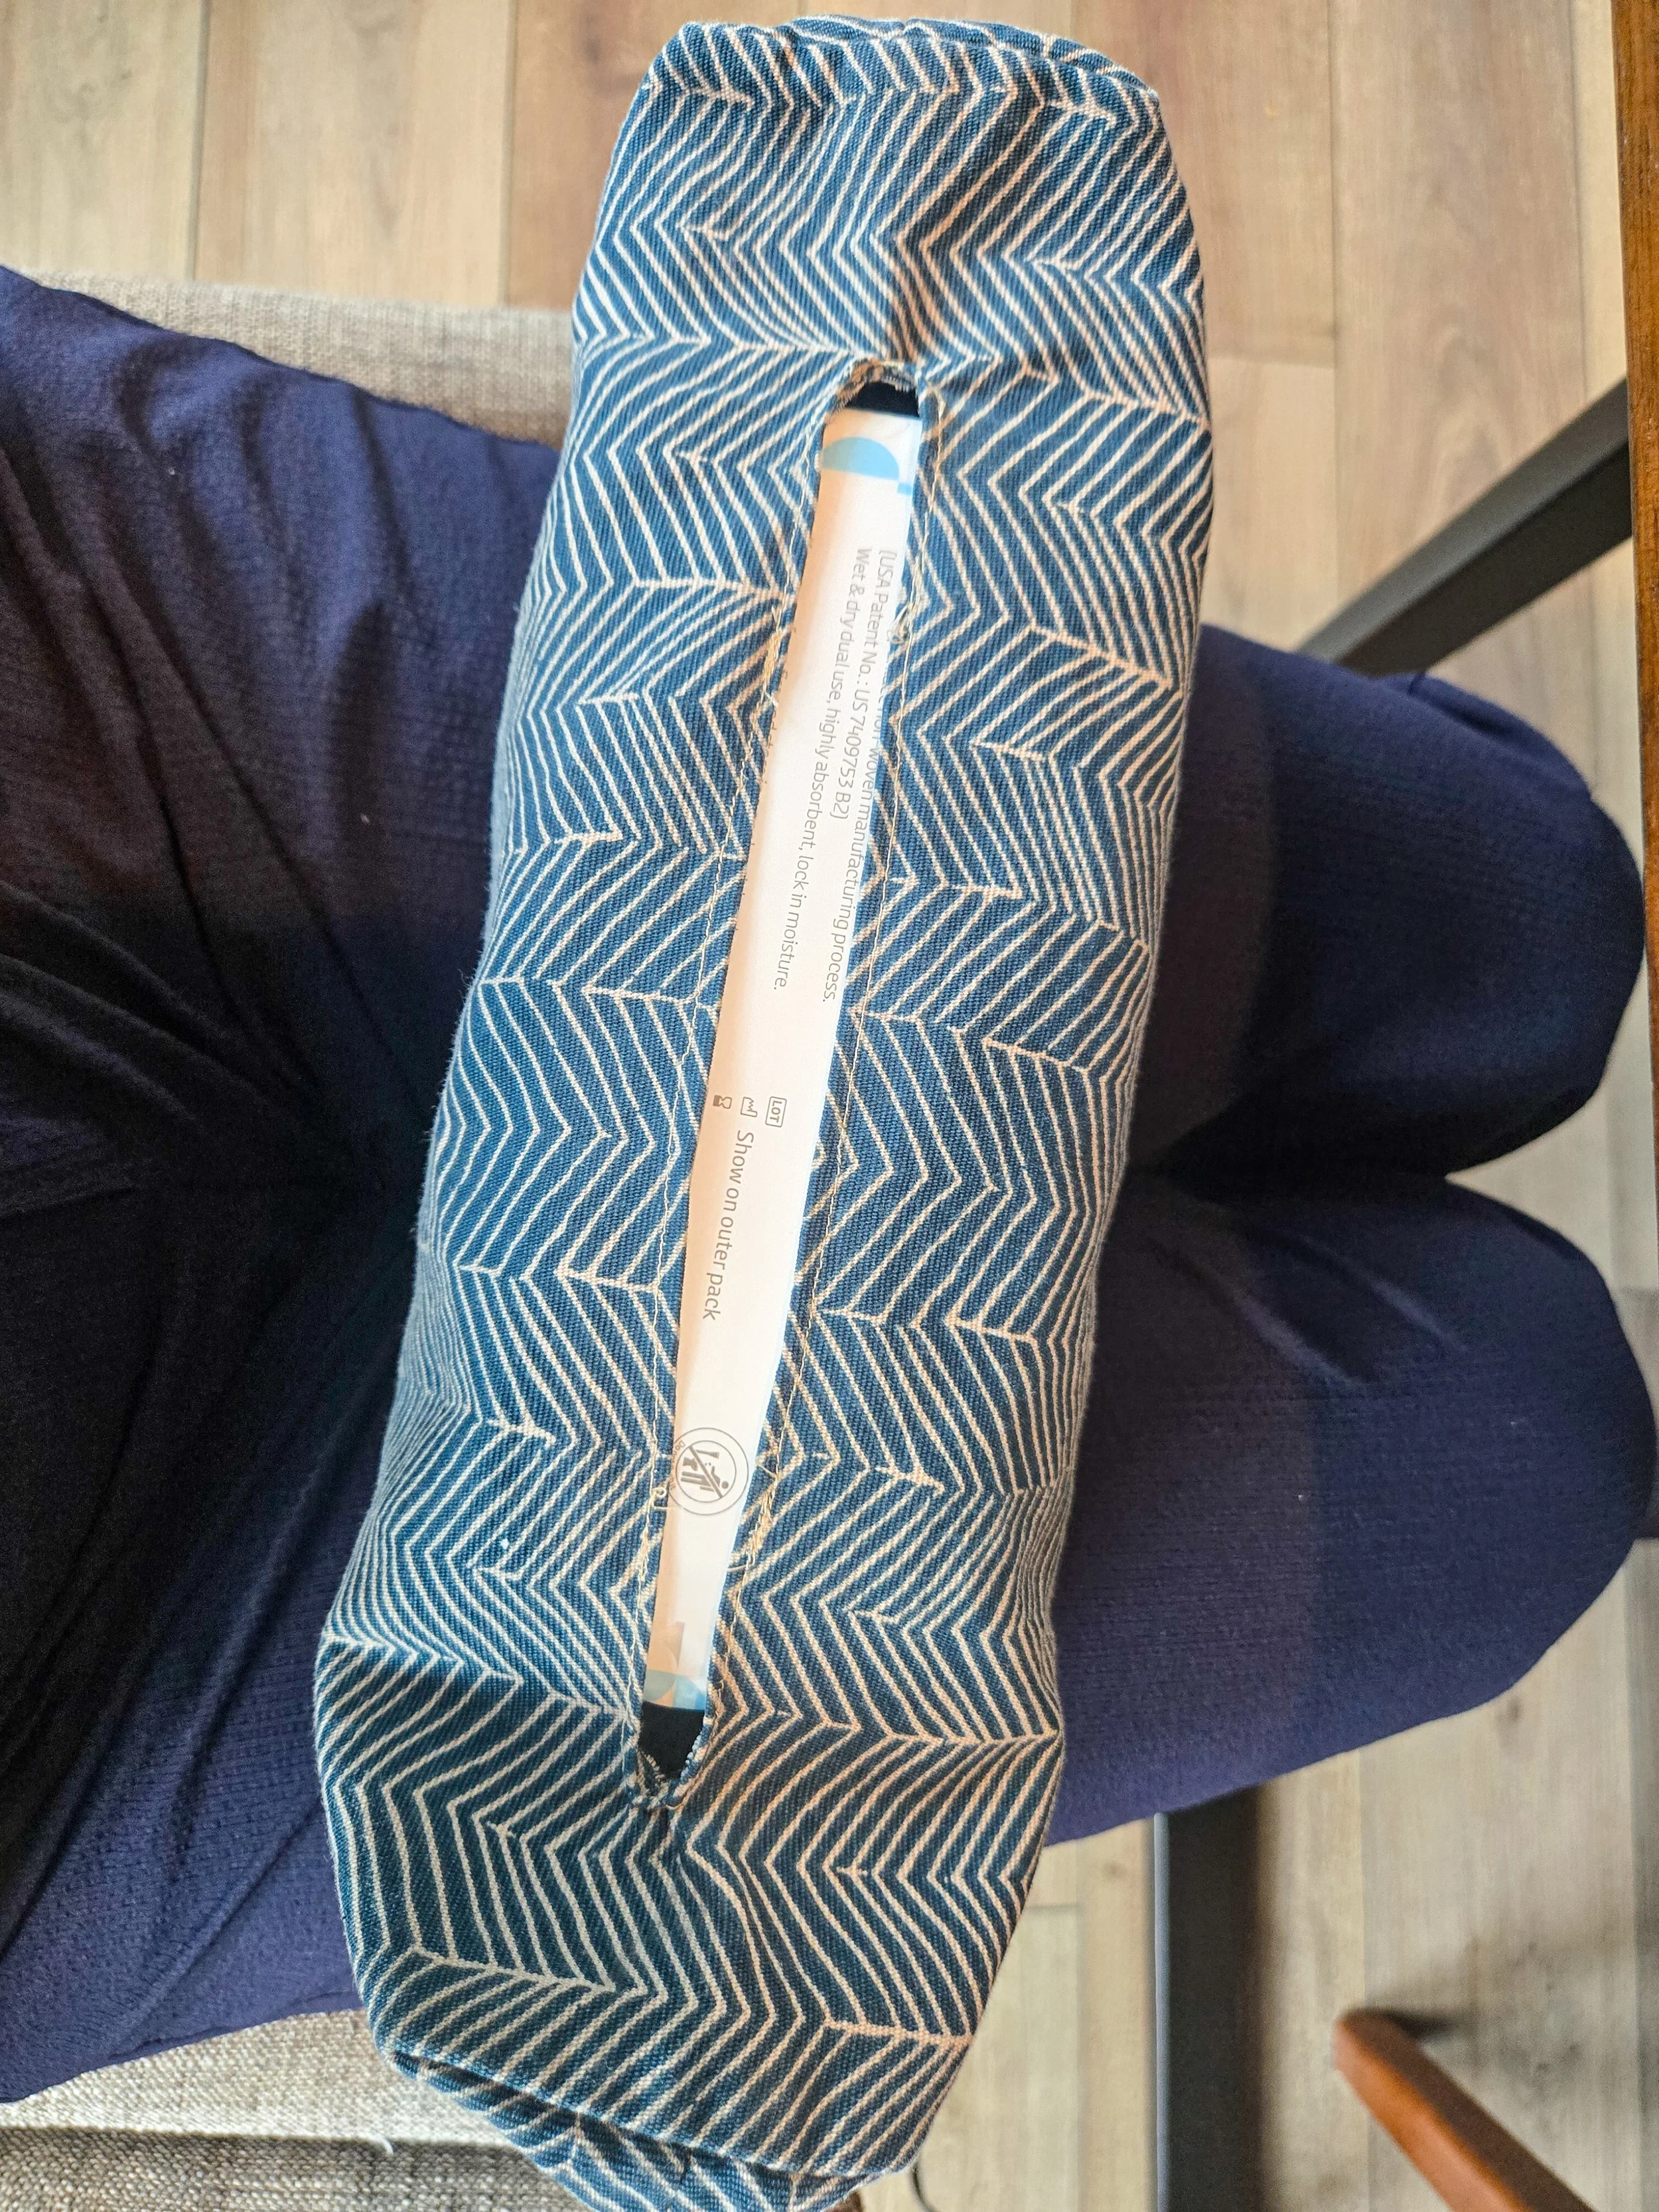
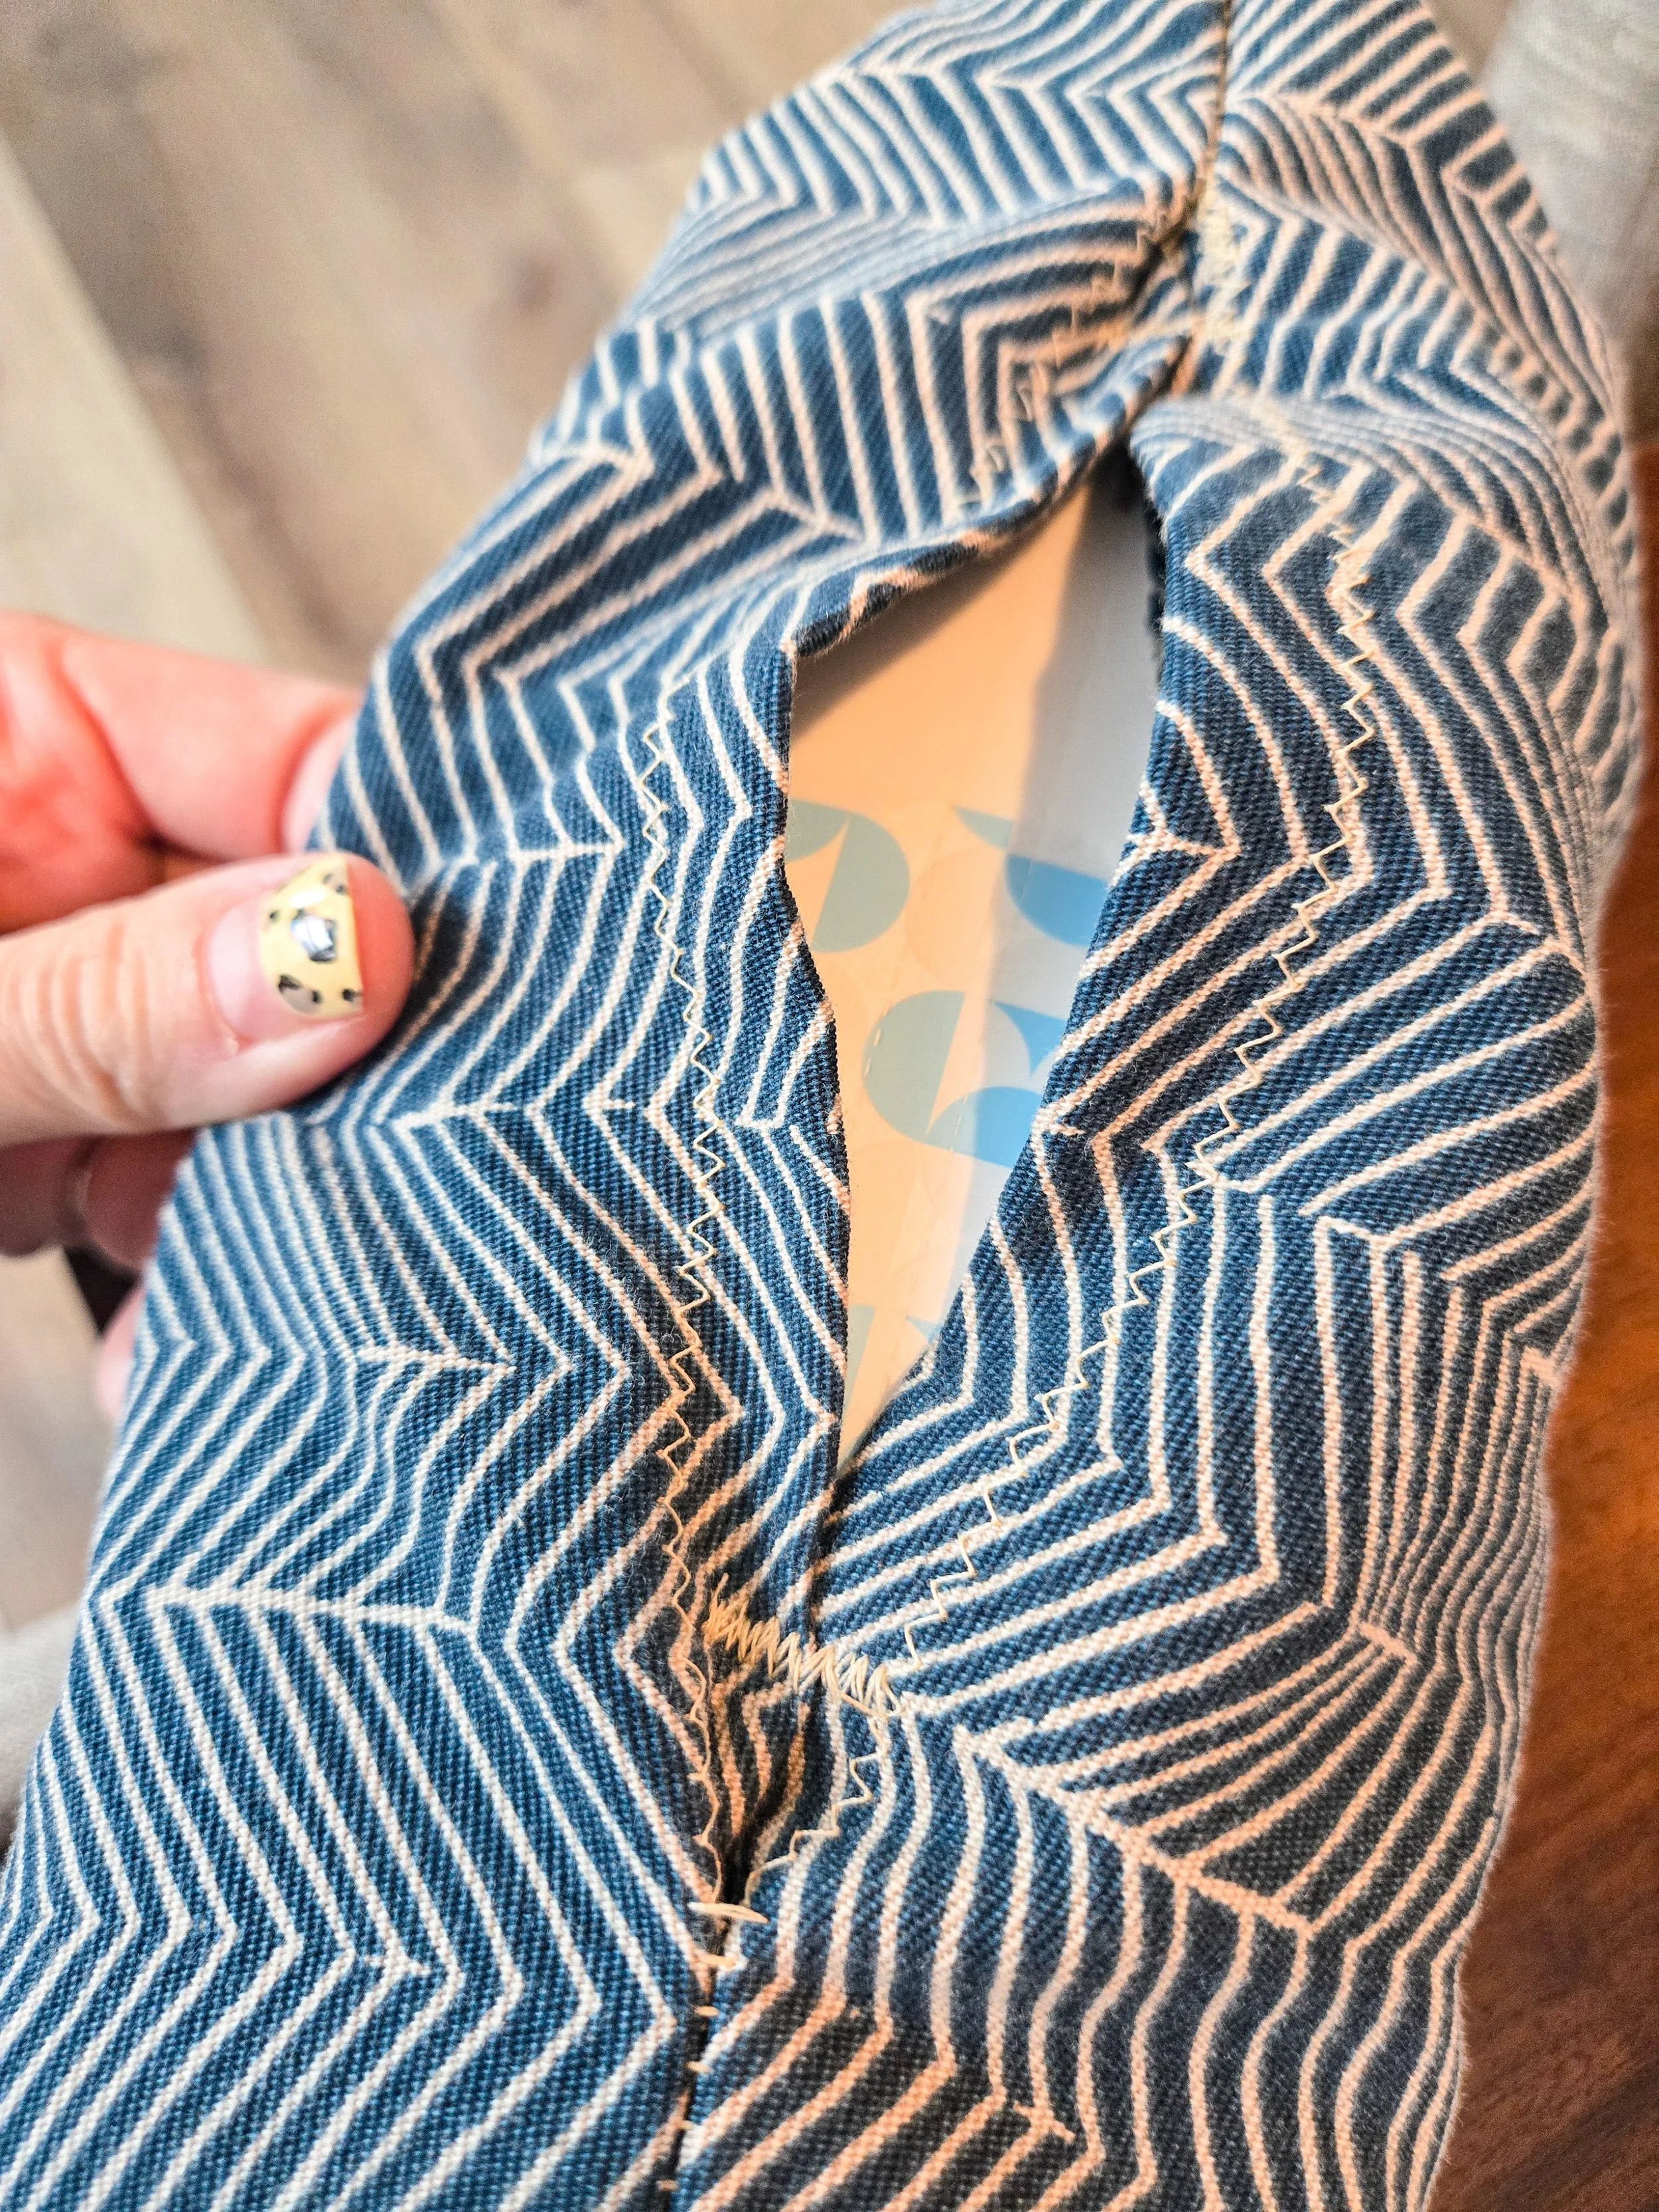
1. Starting with the fabric
Before cutting anything, I spent a minute just looking at the pattern and thinking about how it would sit on the finished piece. Then I laid the bag flat with a tissue pack on top to get a sense of scale, and started cutting.
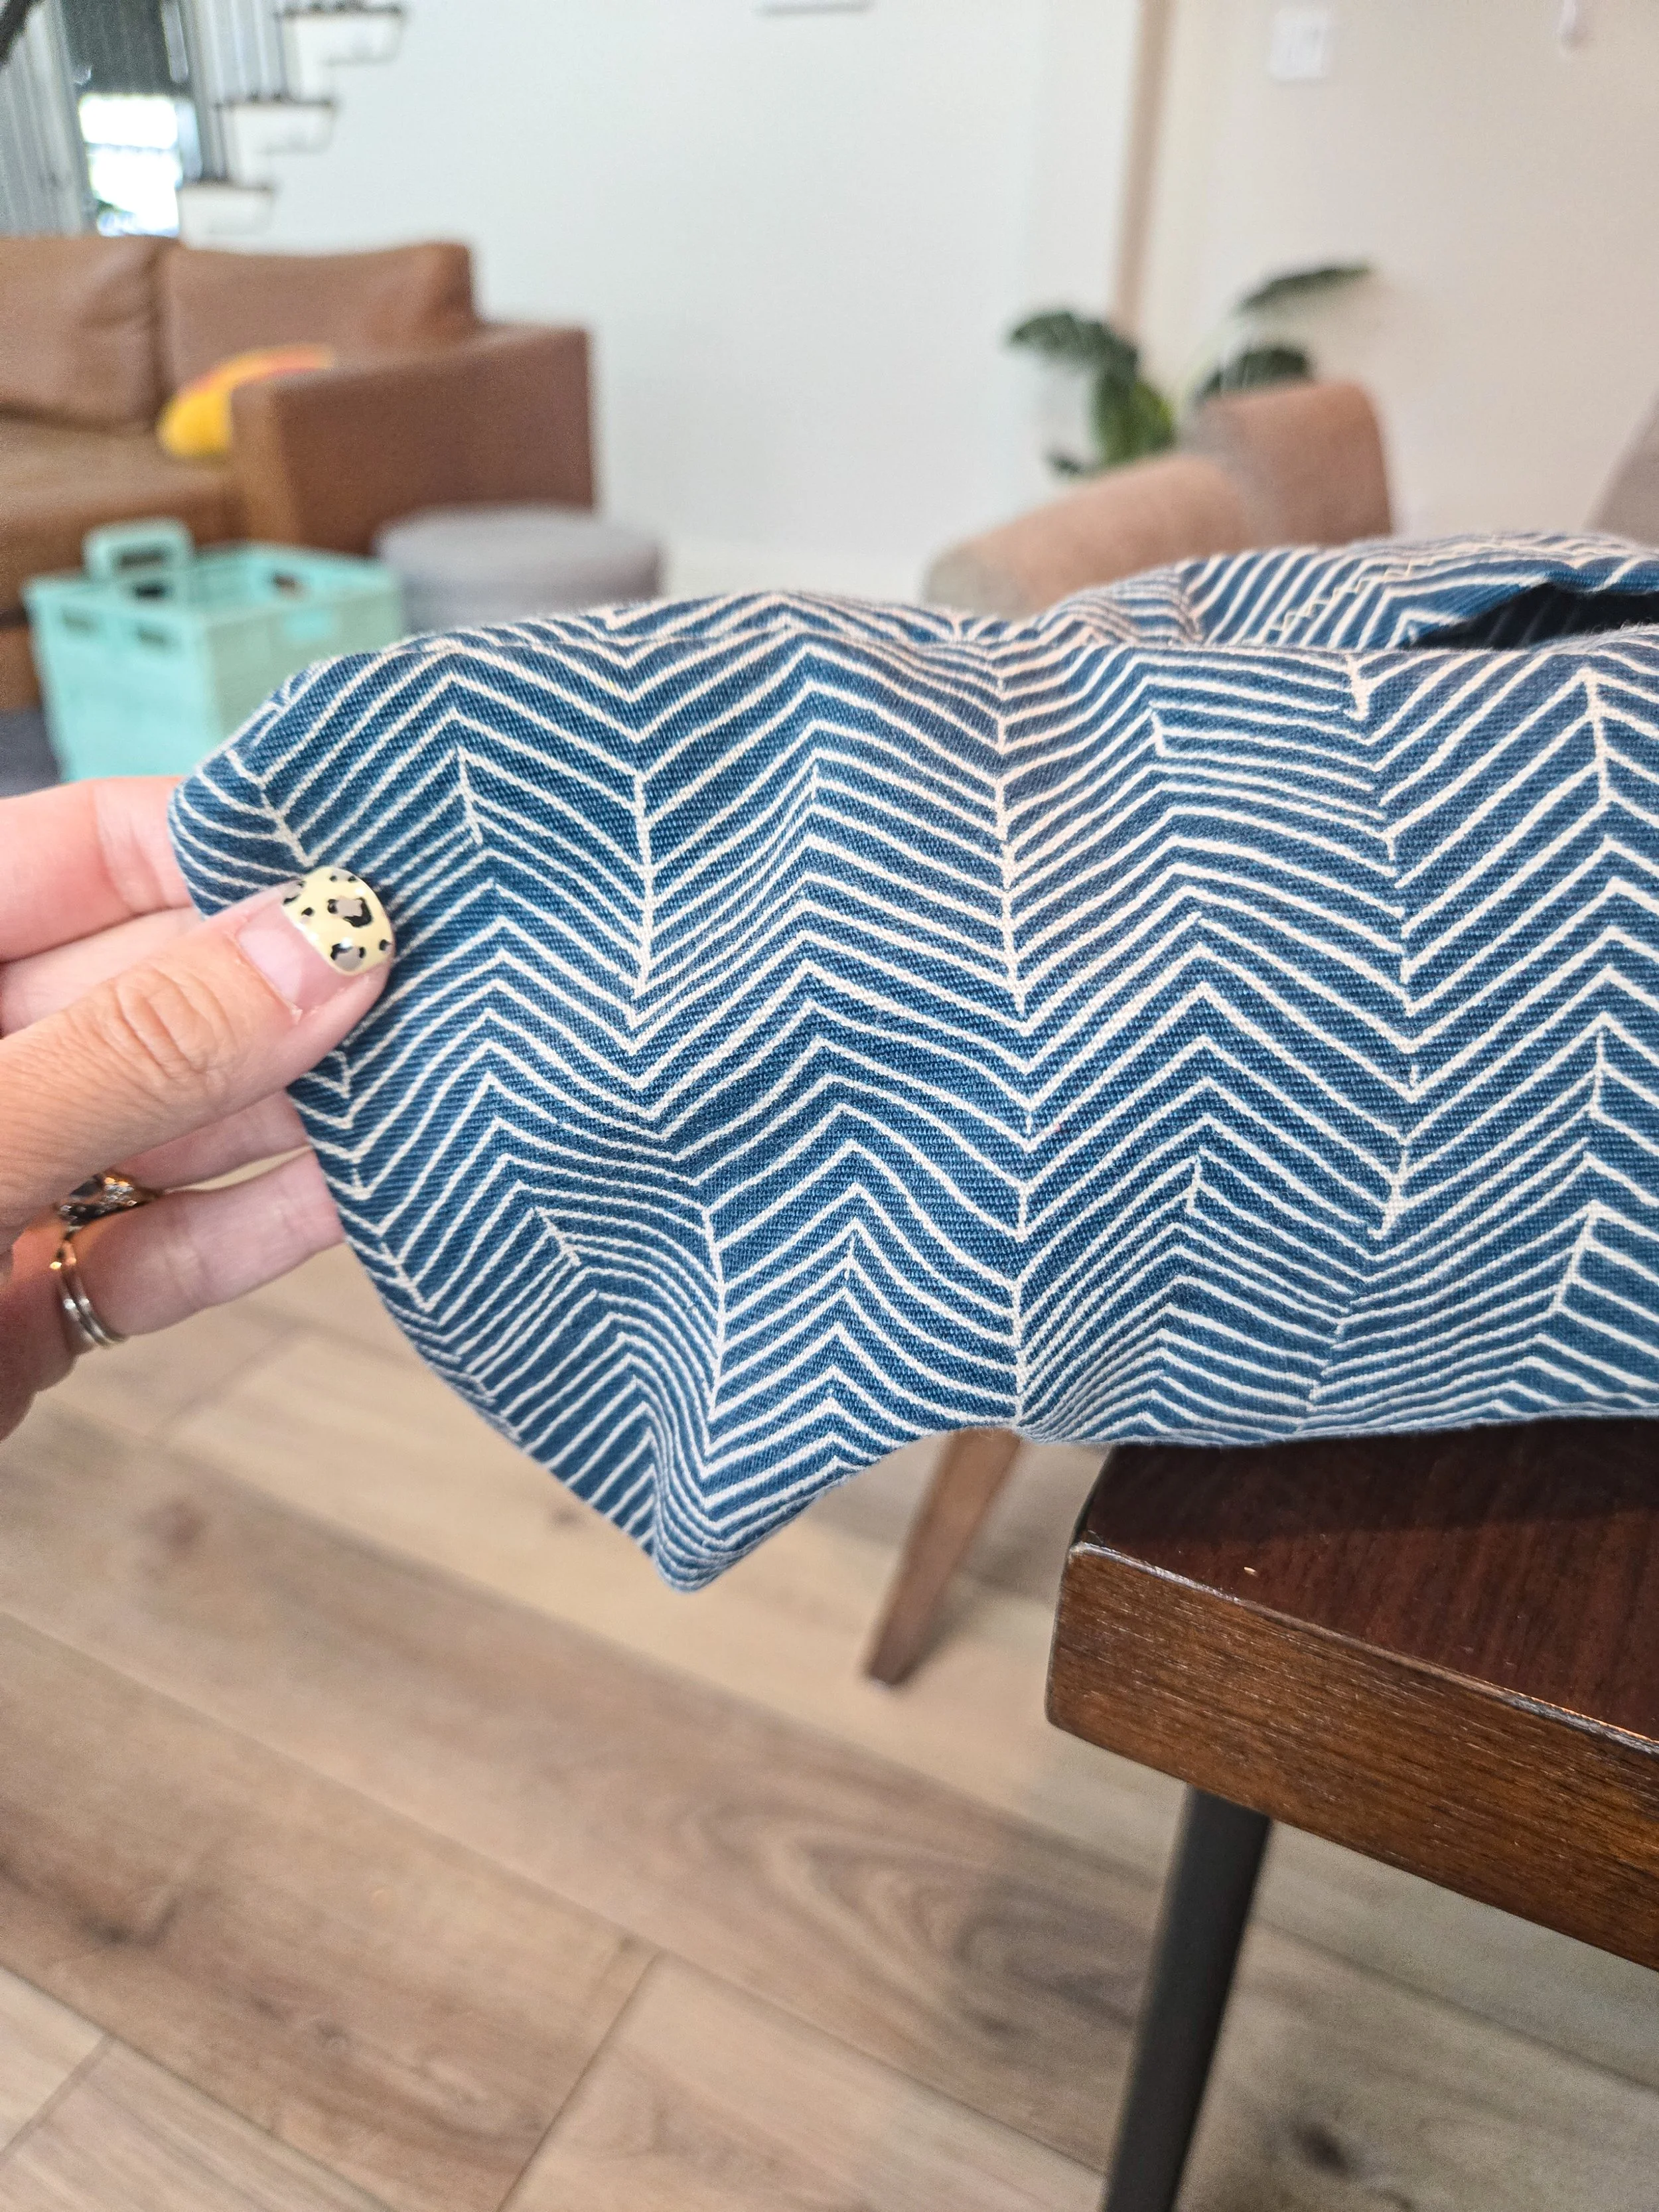
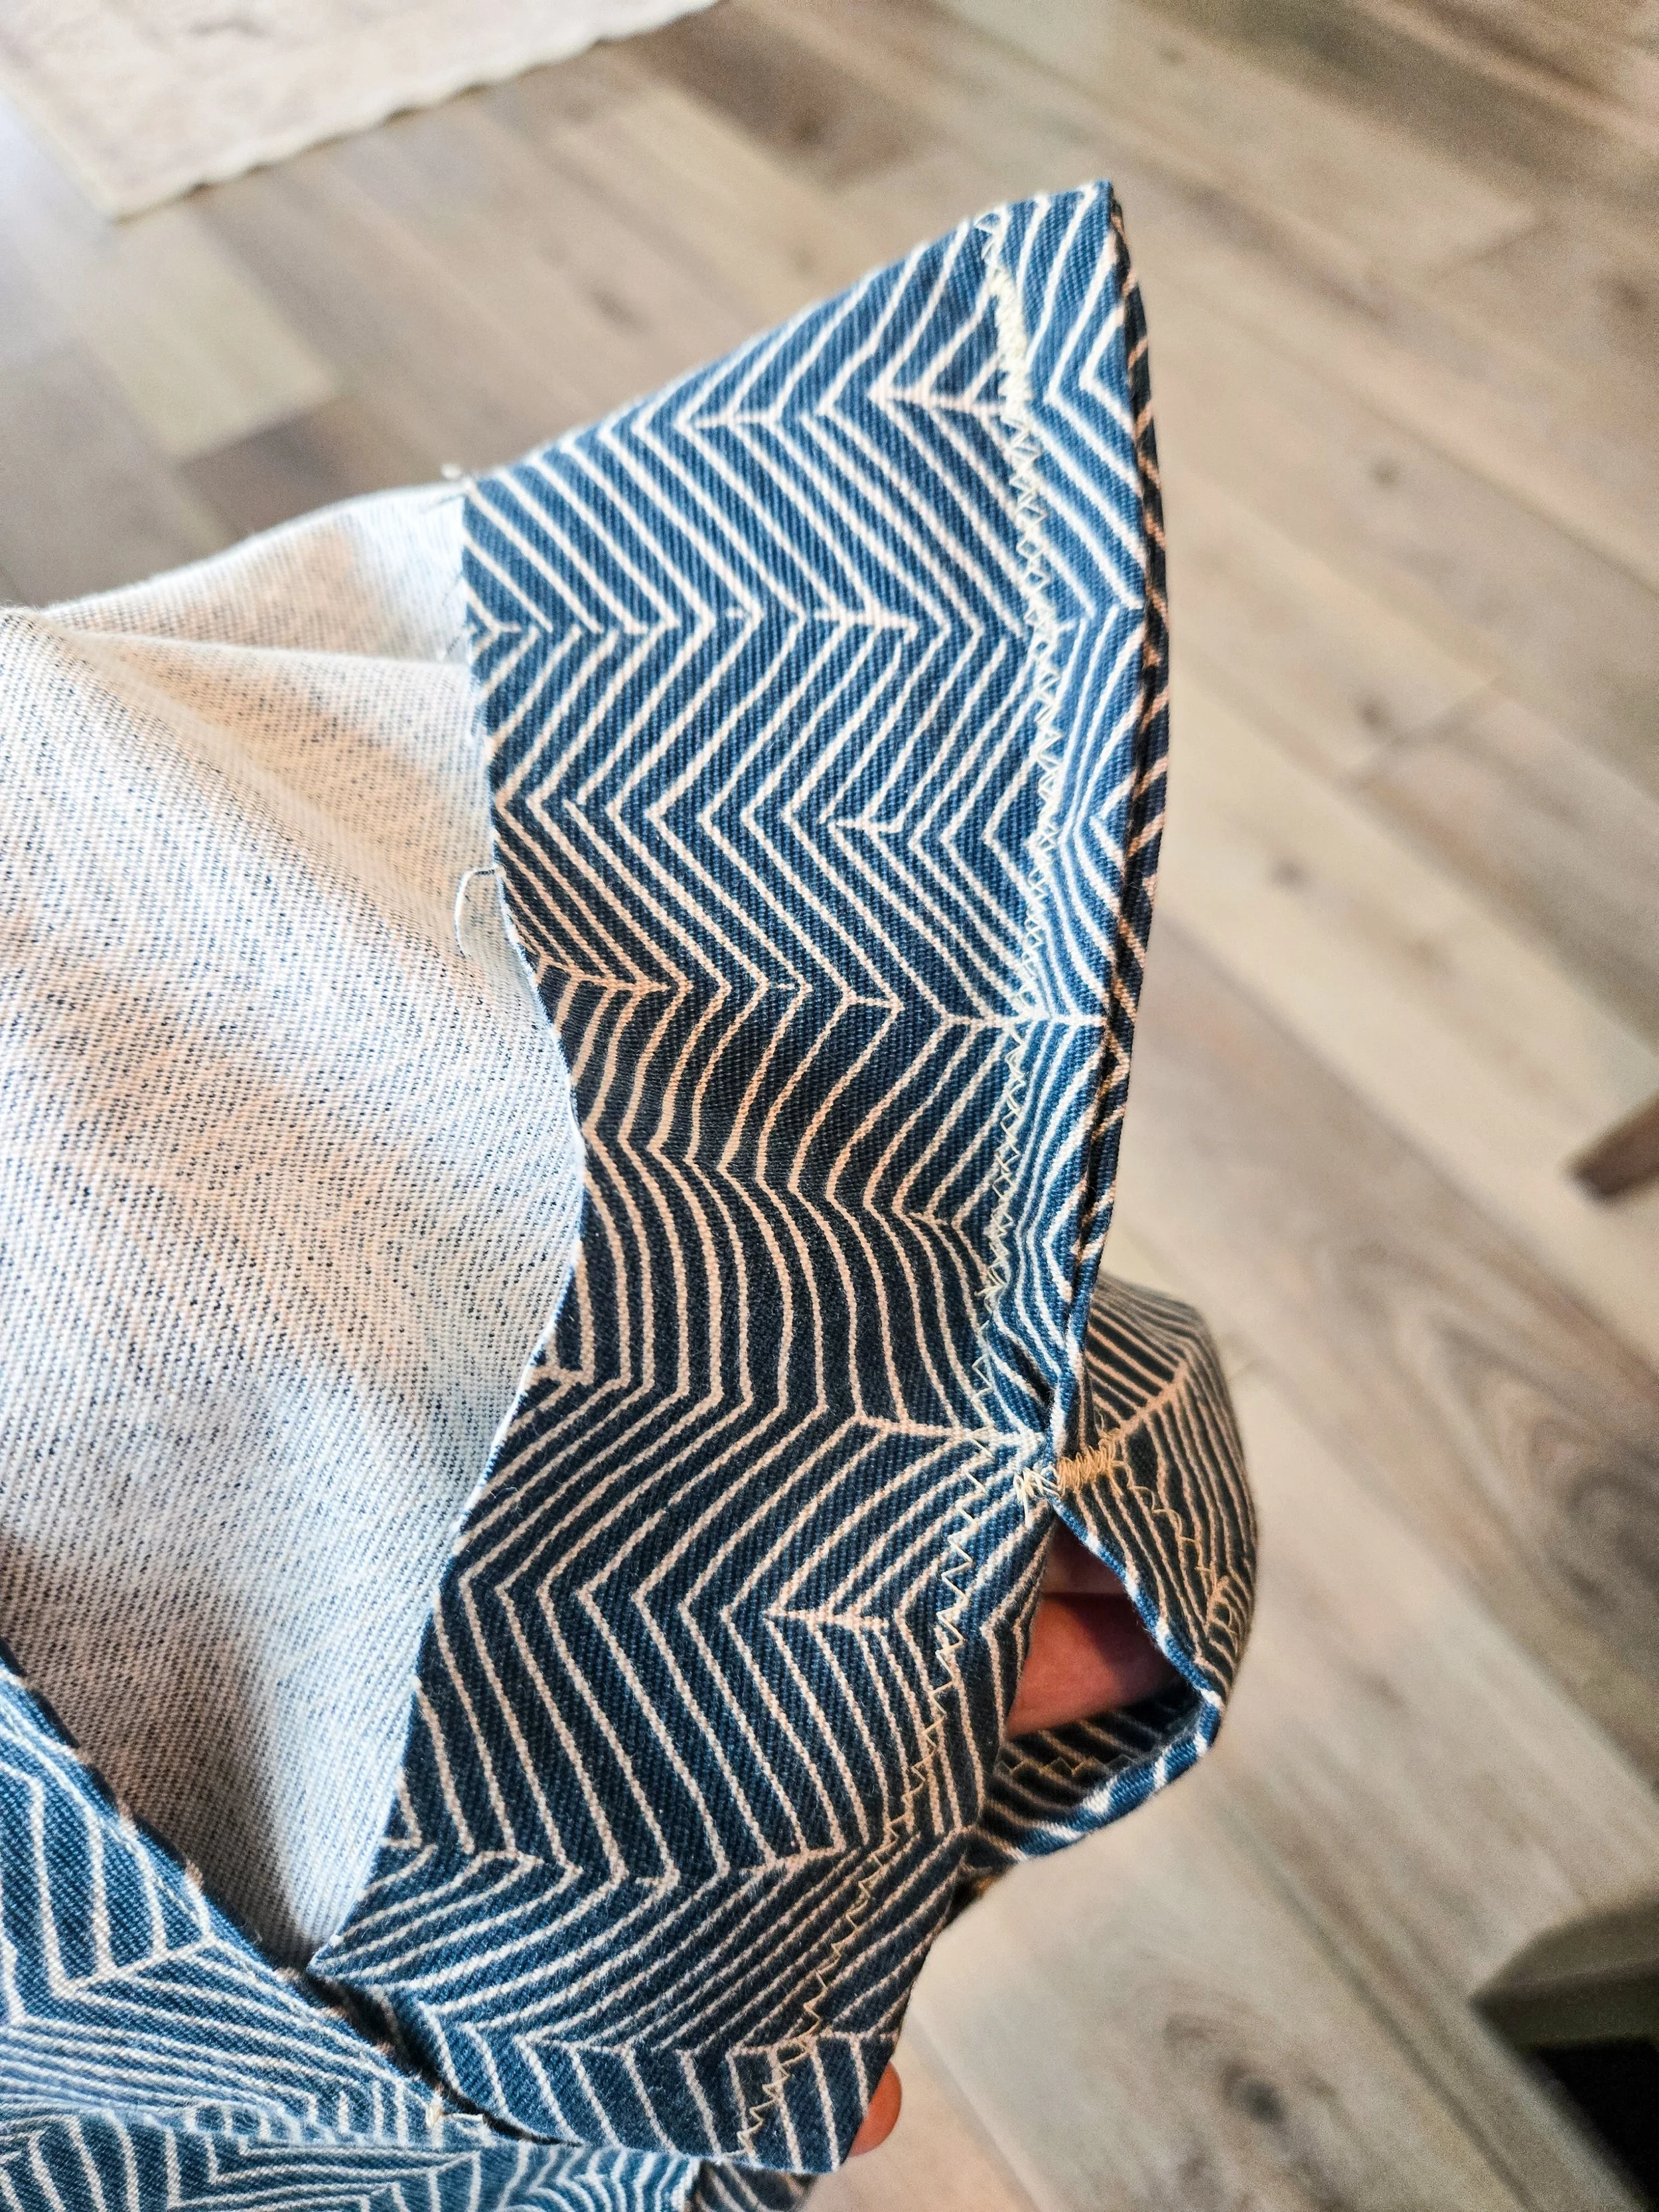
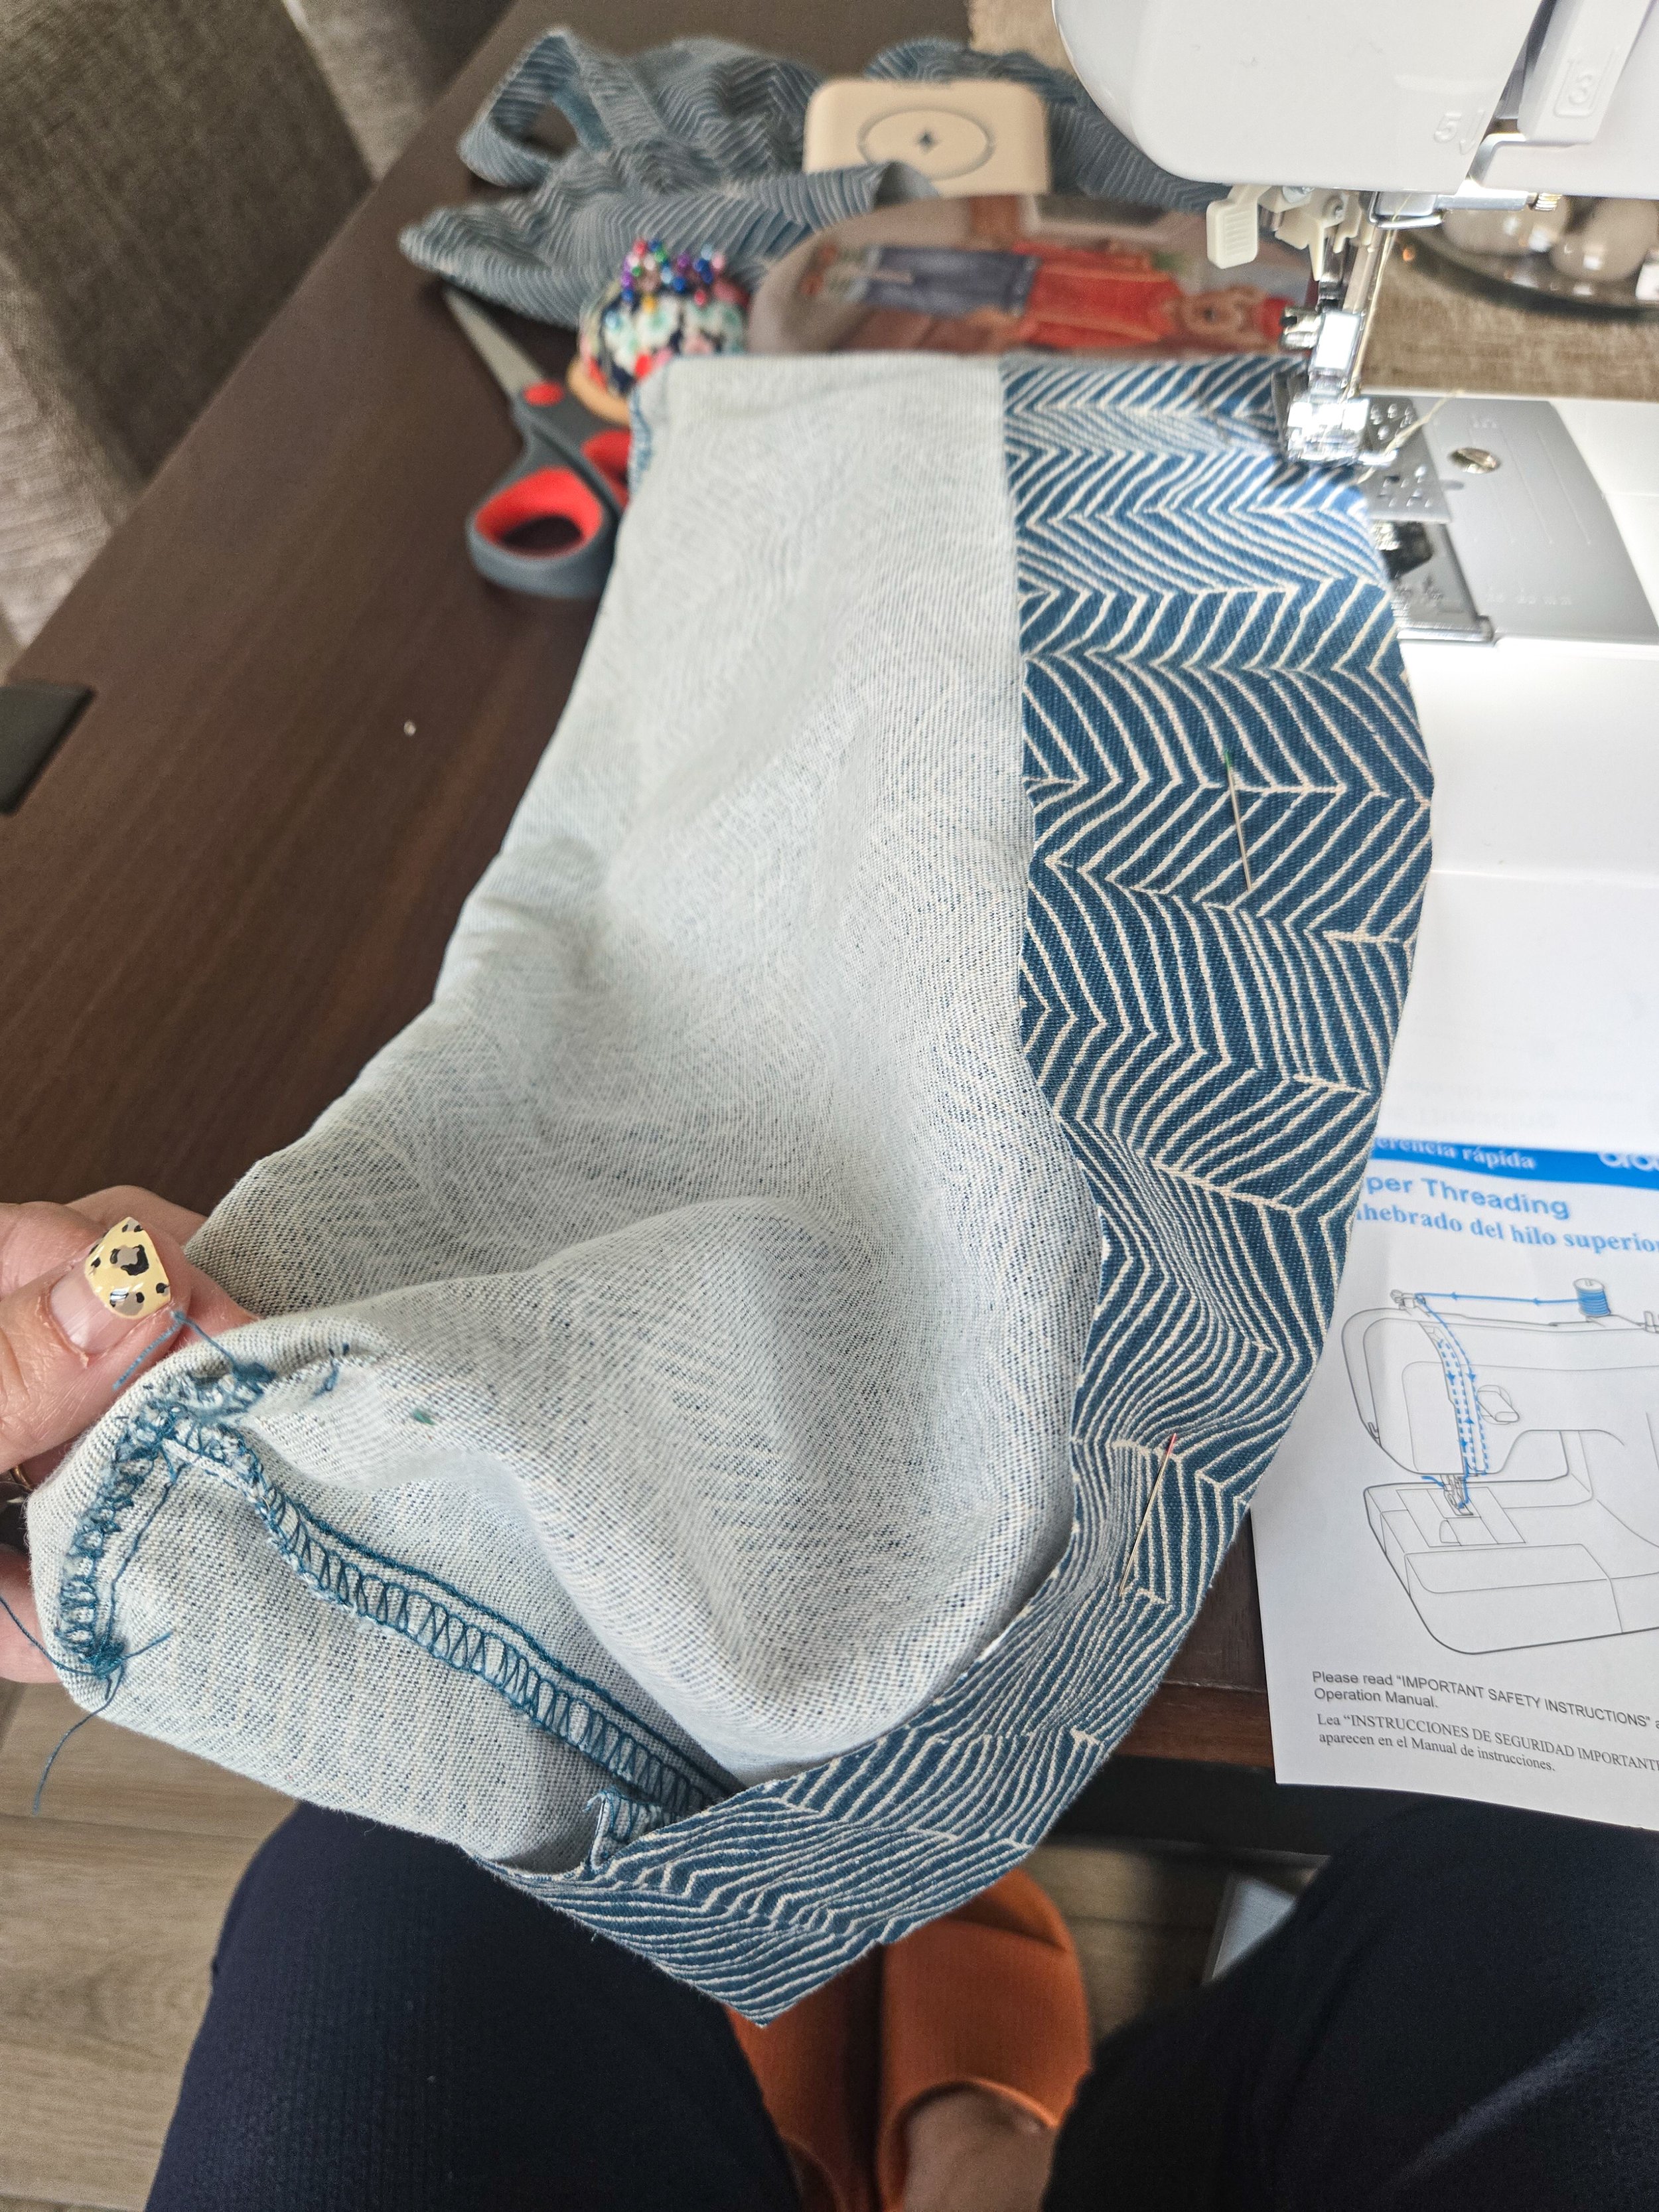
2. Making it hold up
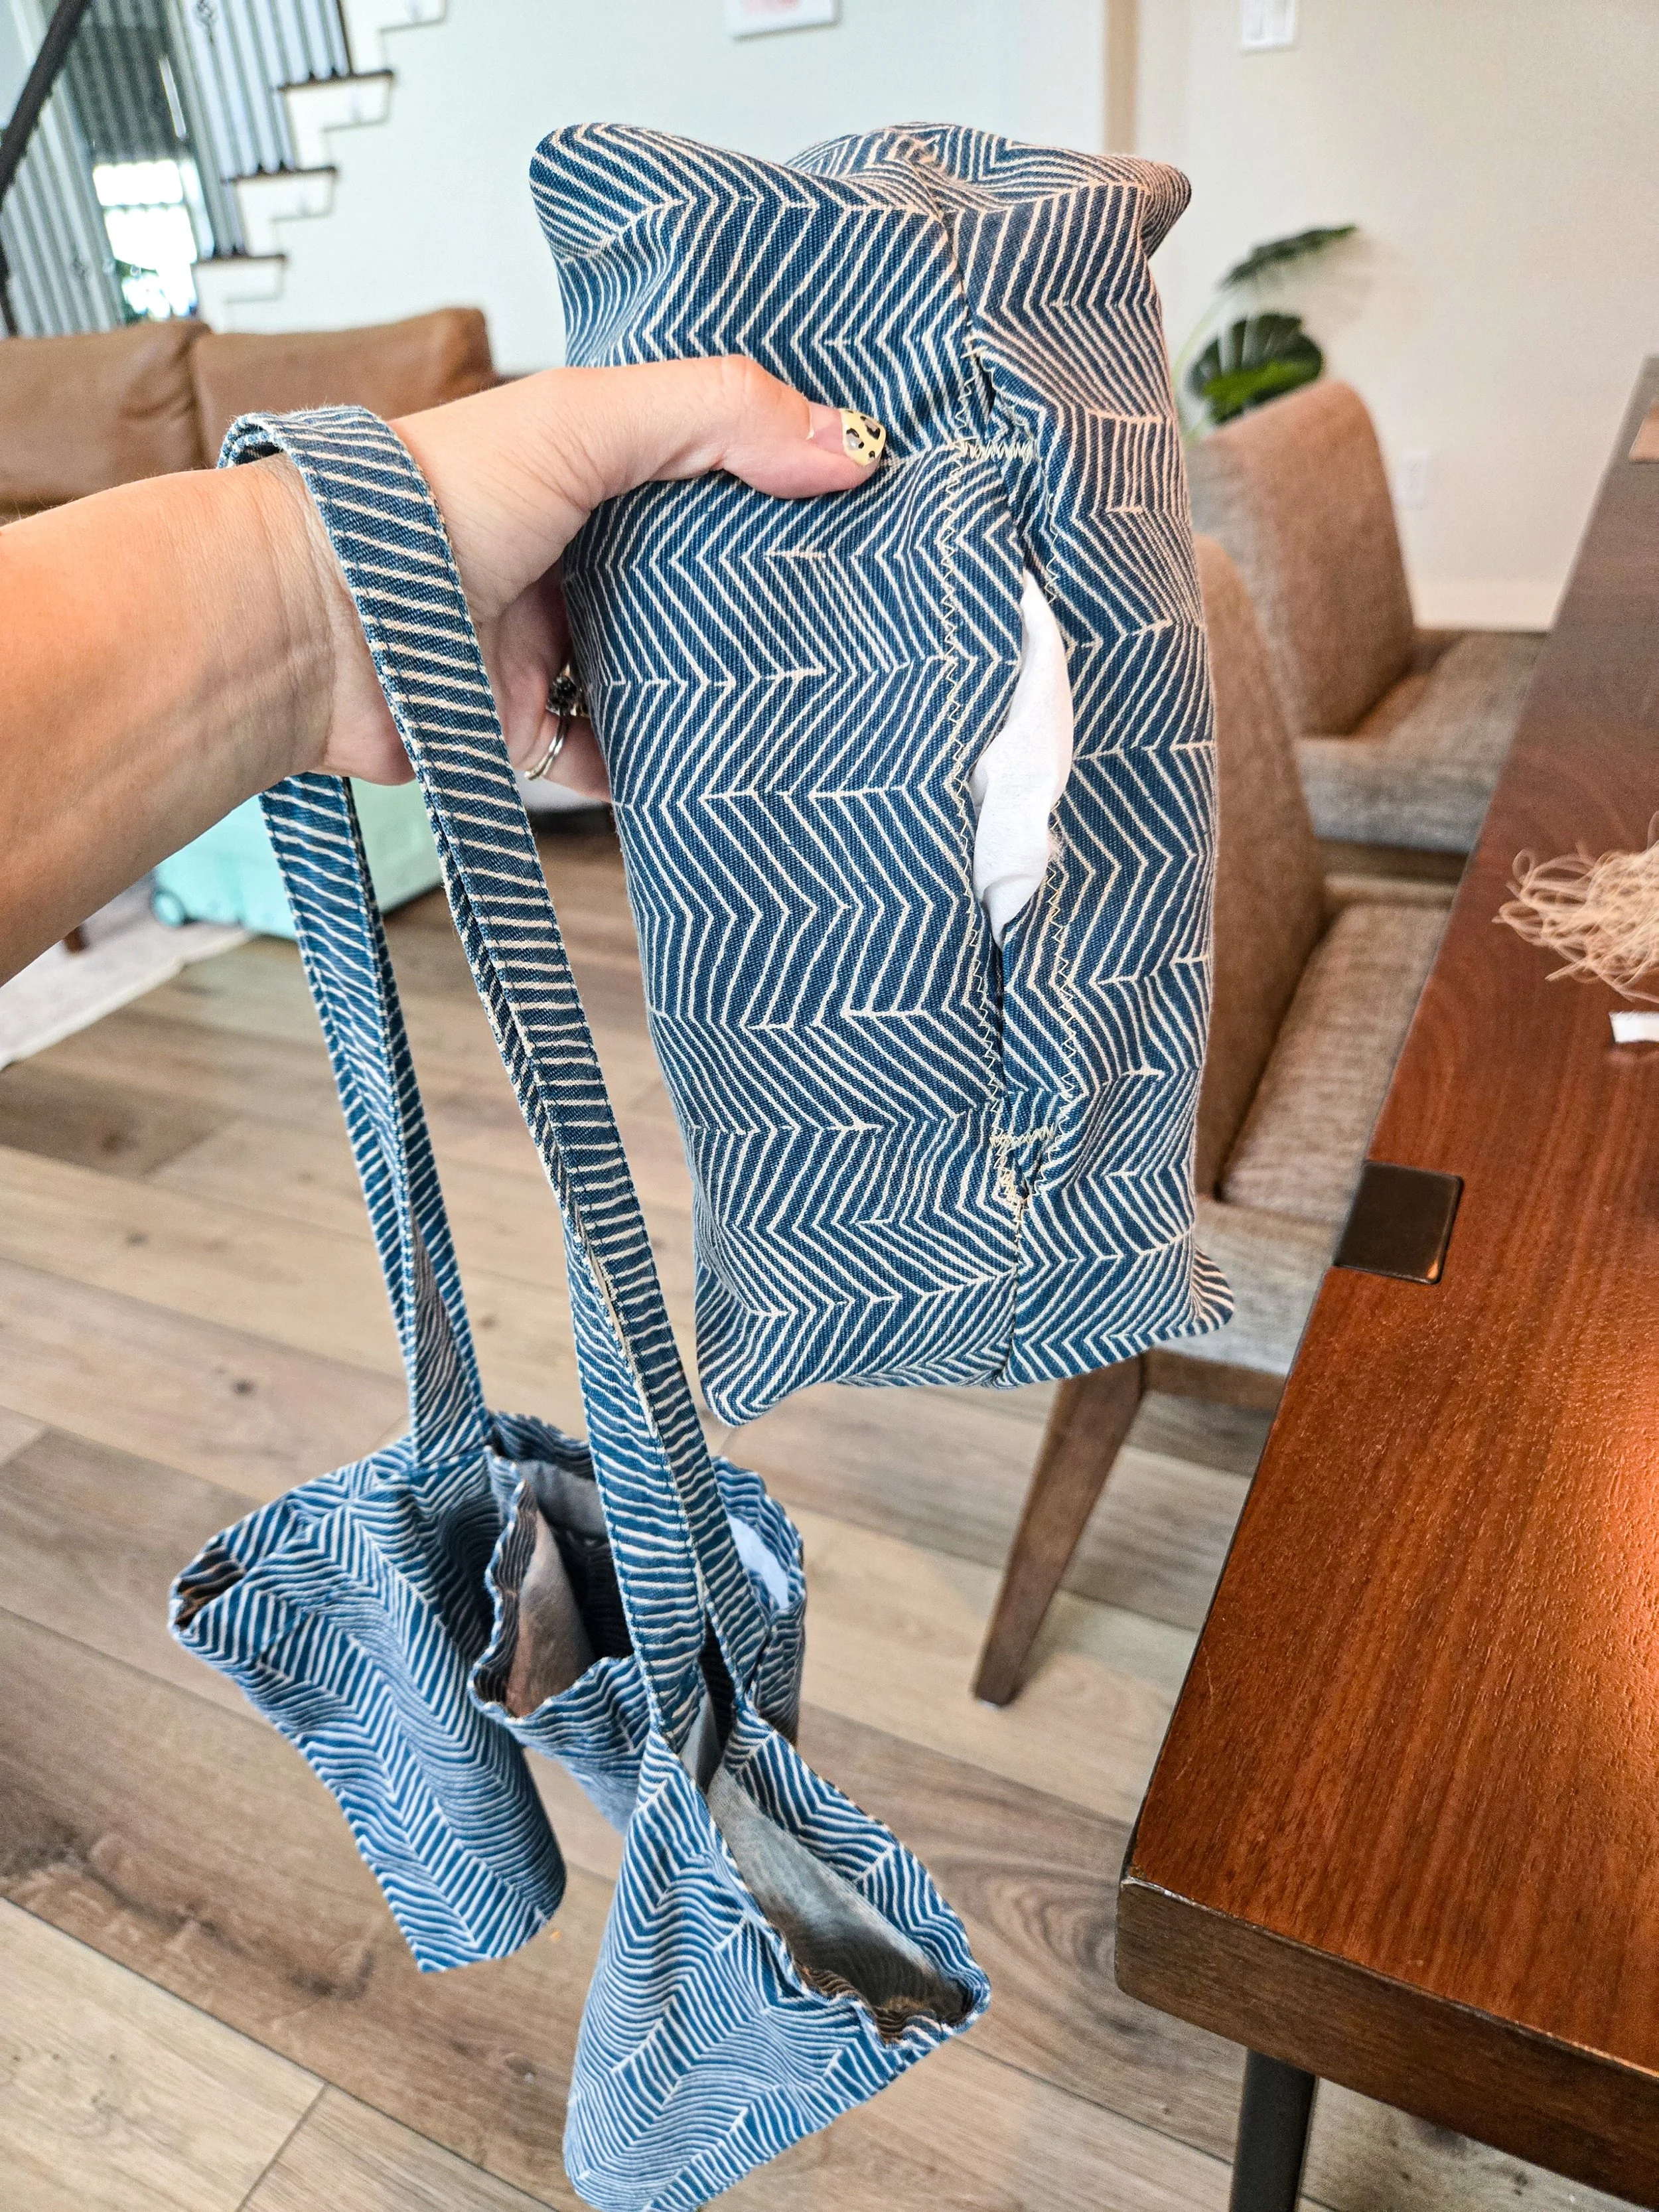
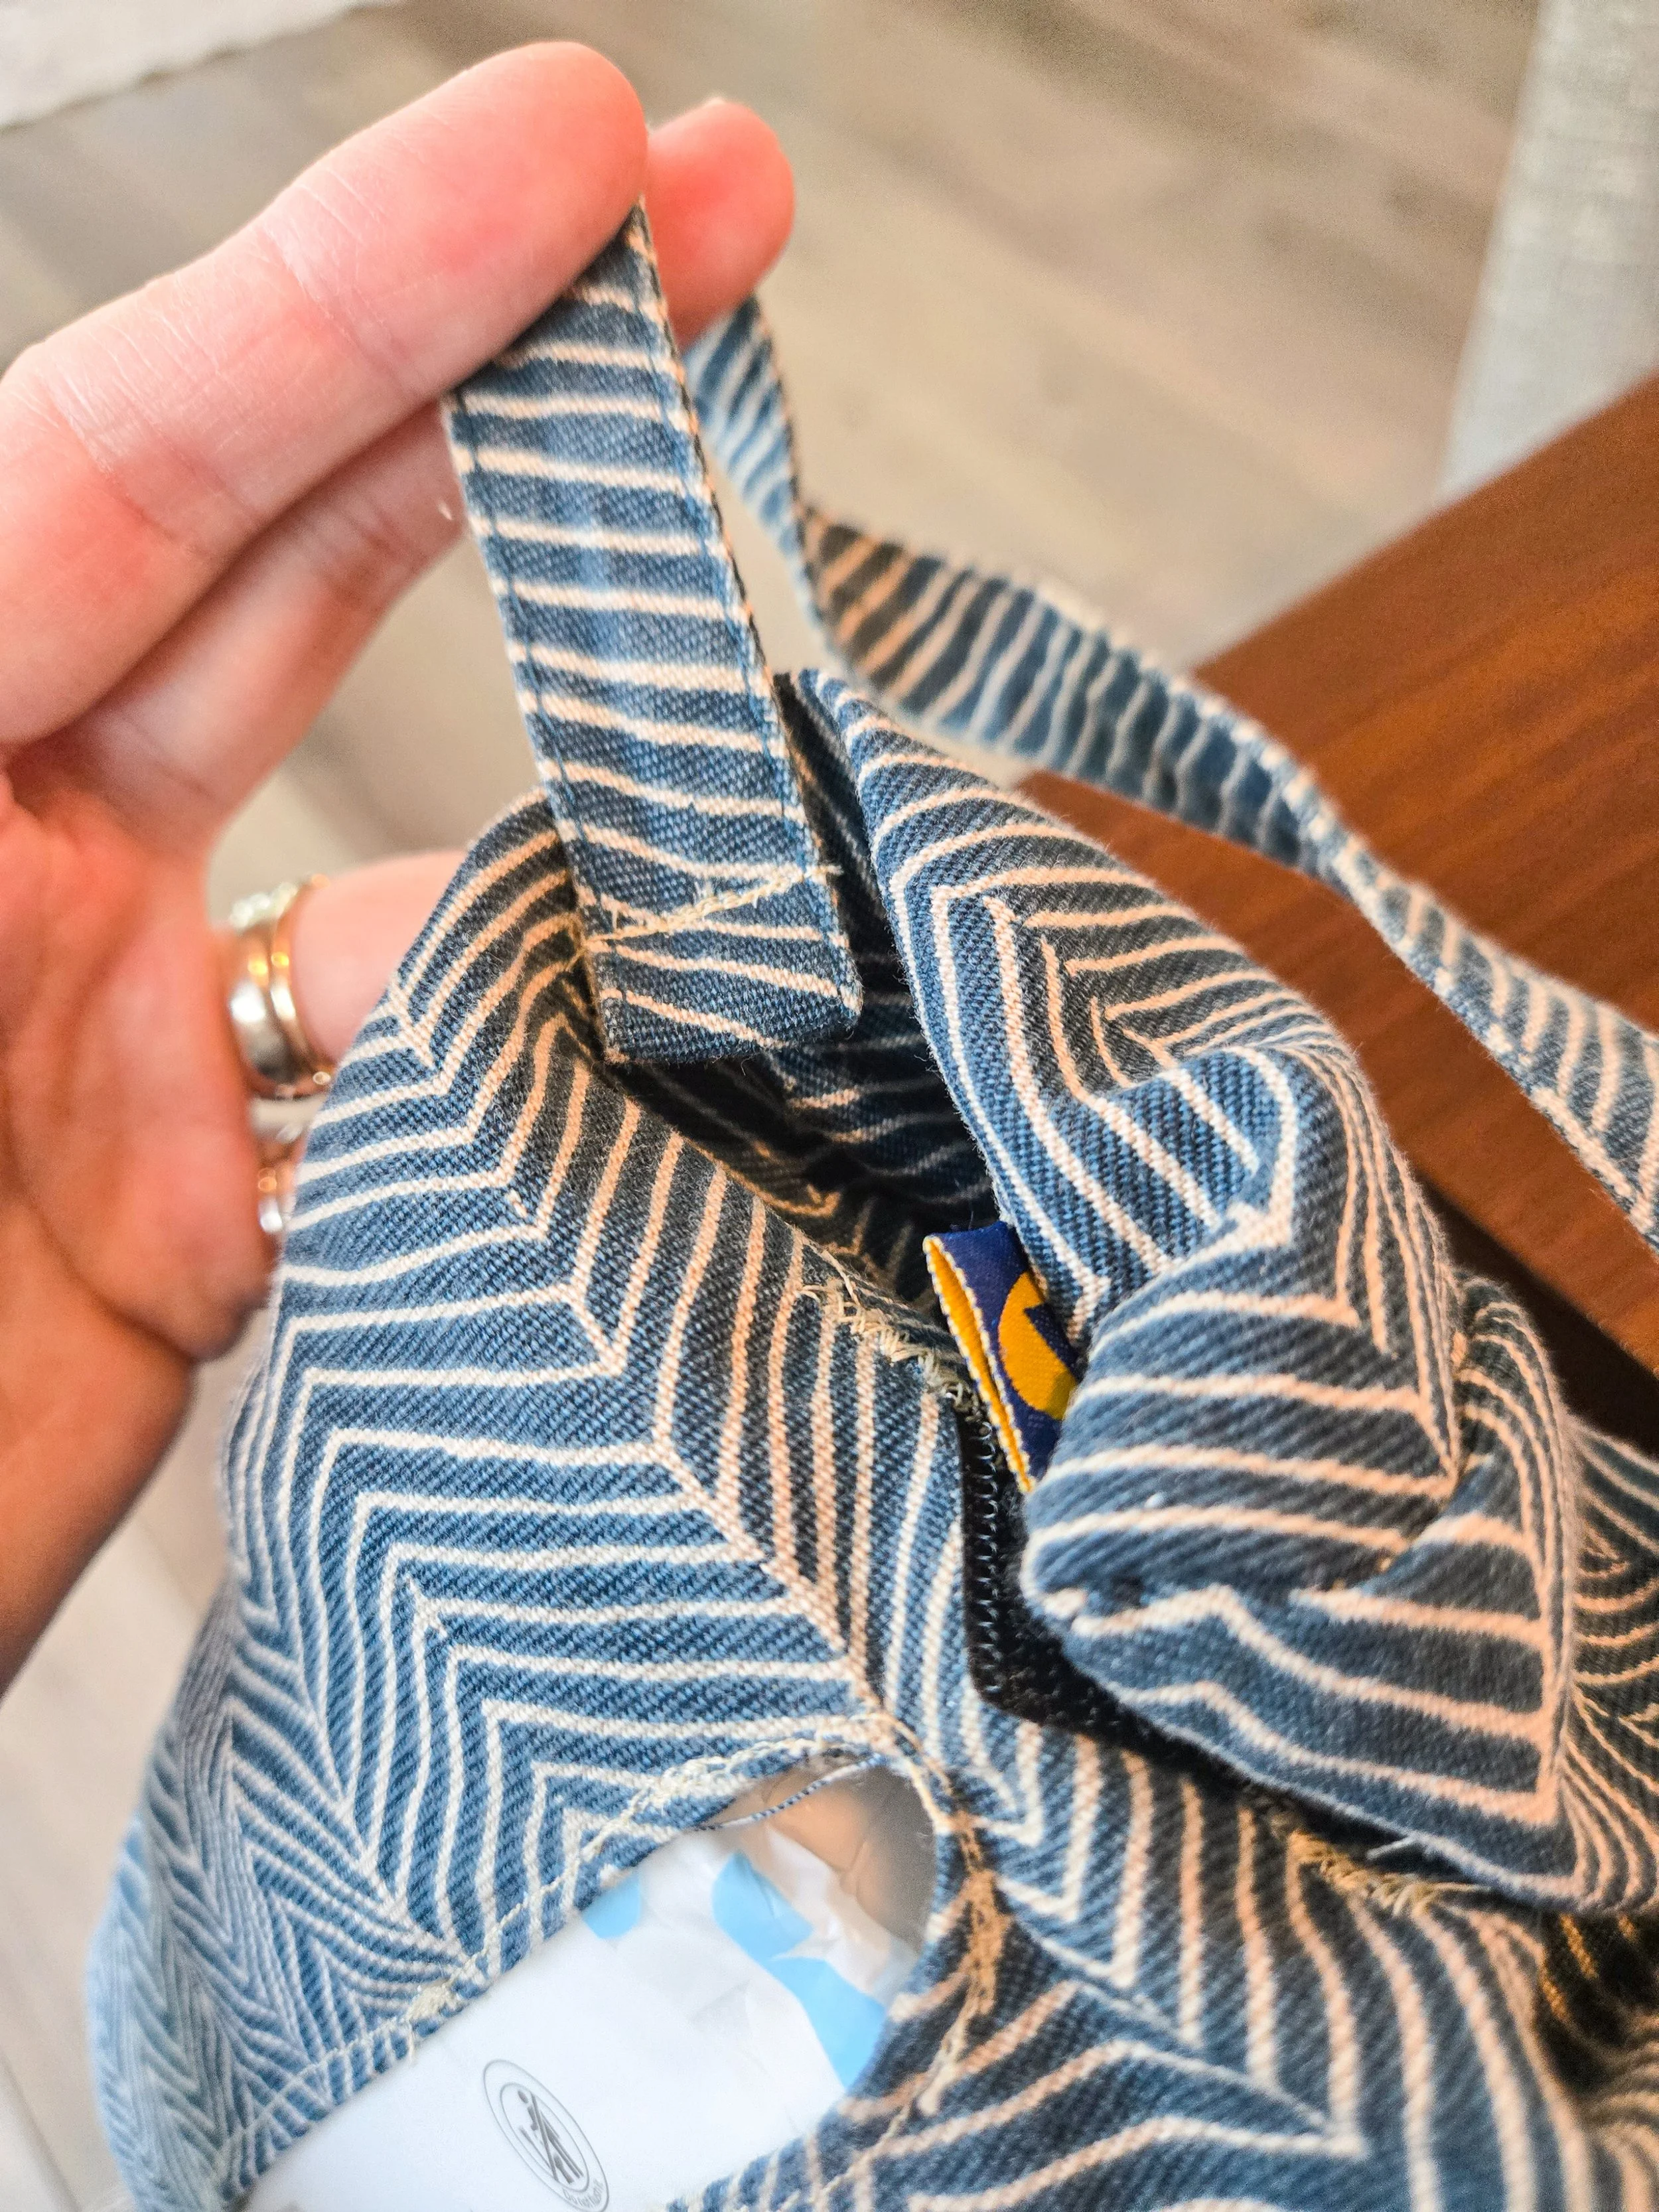
These shots are really about durability, not mess. I turned the piece inside out to catch and finish the raw edge threads before they could fray further. The strap got sewn back and forth three times at the attachment point, since that's the spot that takes the most pulling once it's hanging and loaded with tissues. Same idea at the bottom opening — folded the edge over and stitched it down so no loose threads would work their way loose over time.
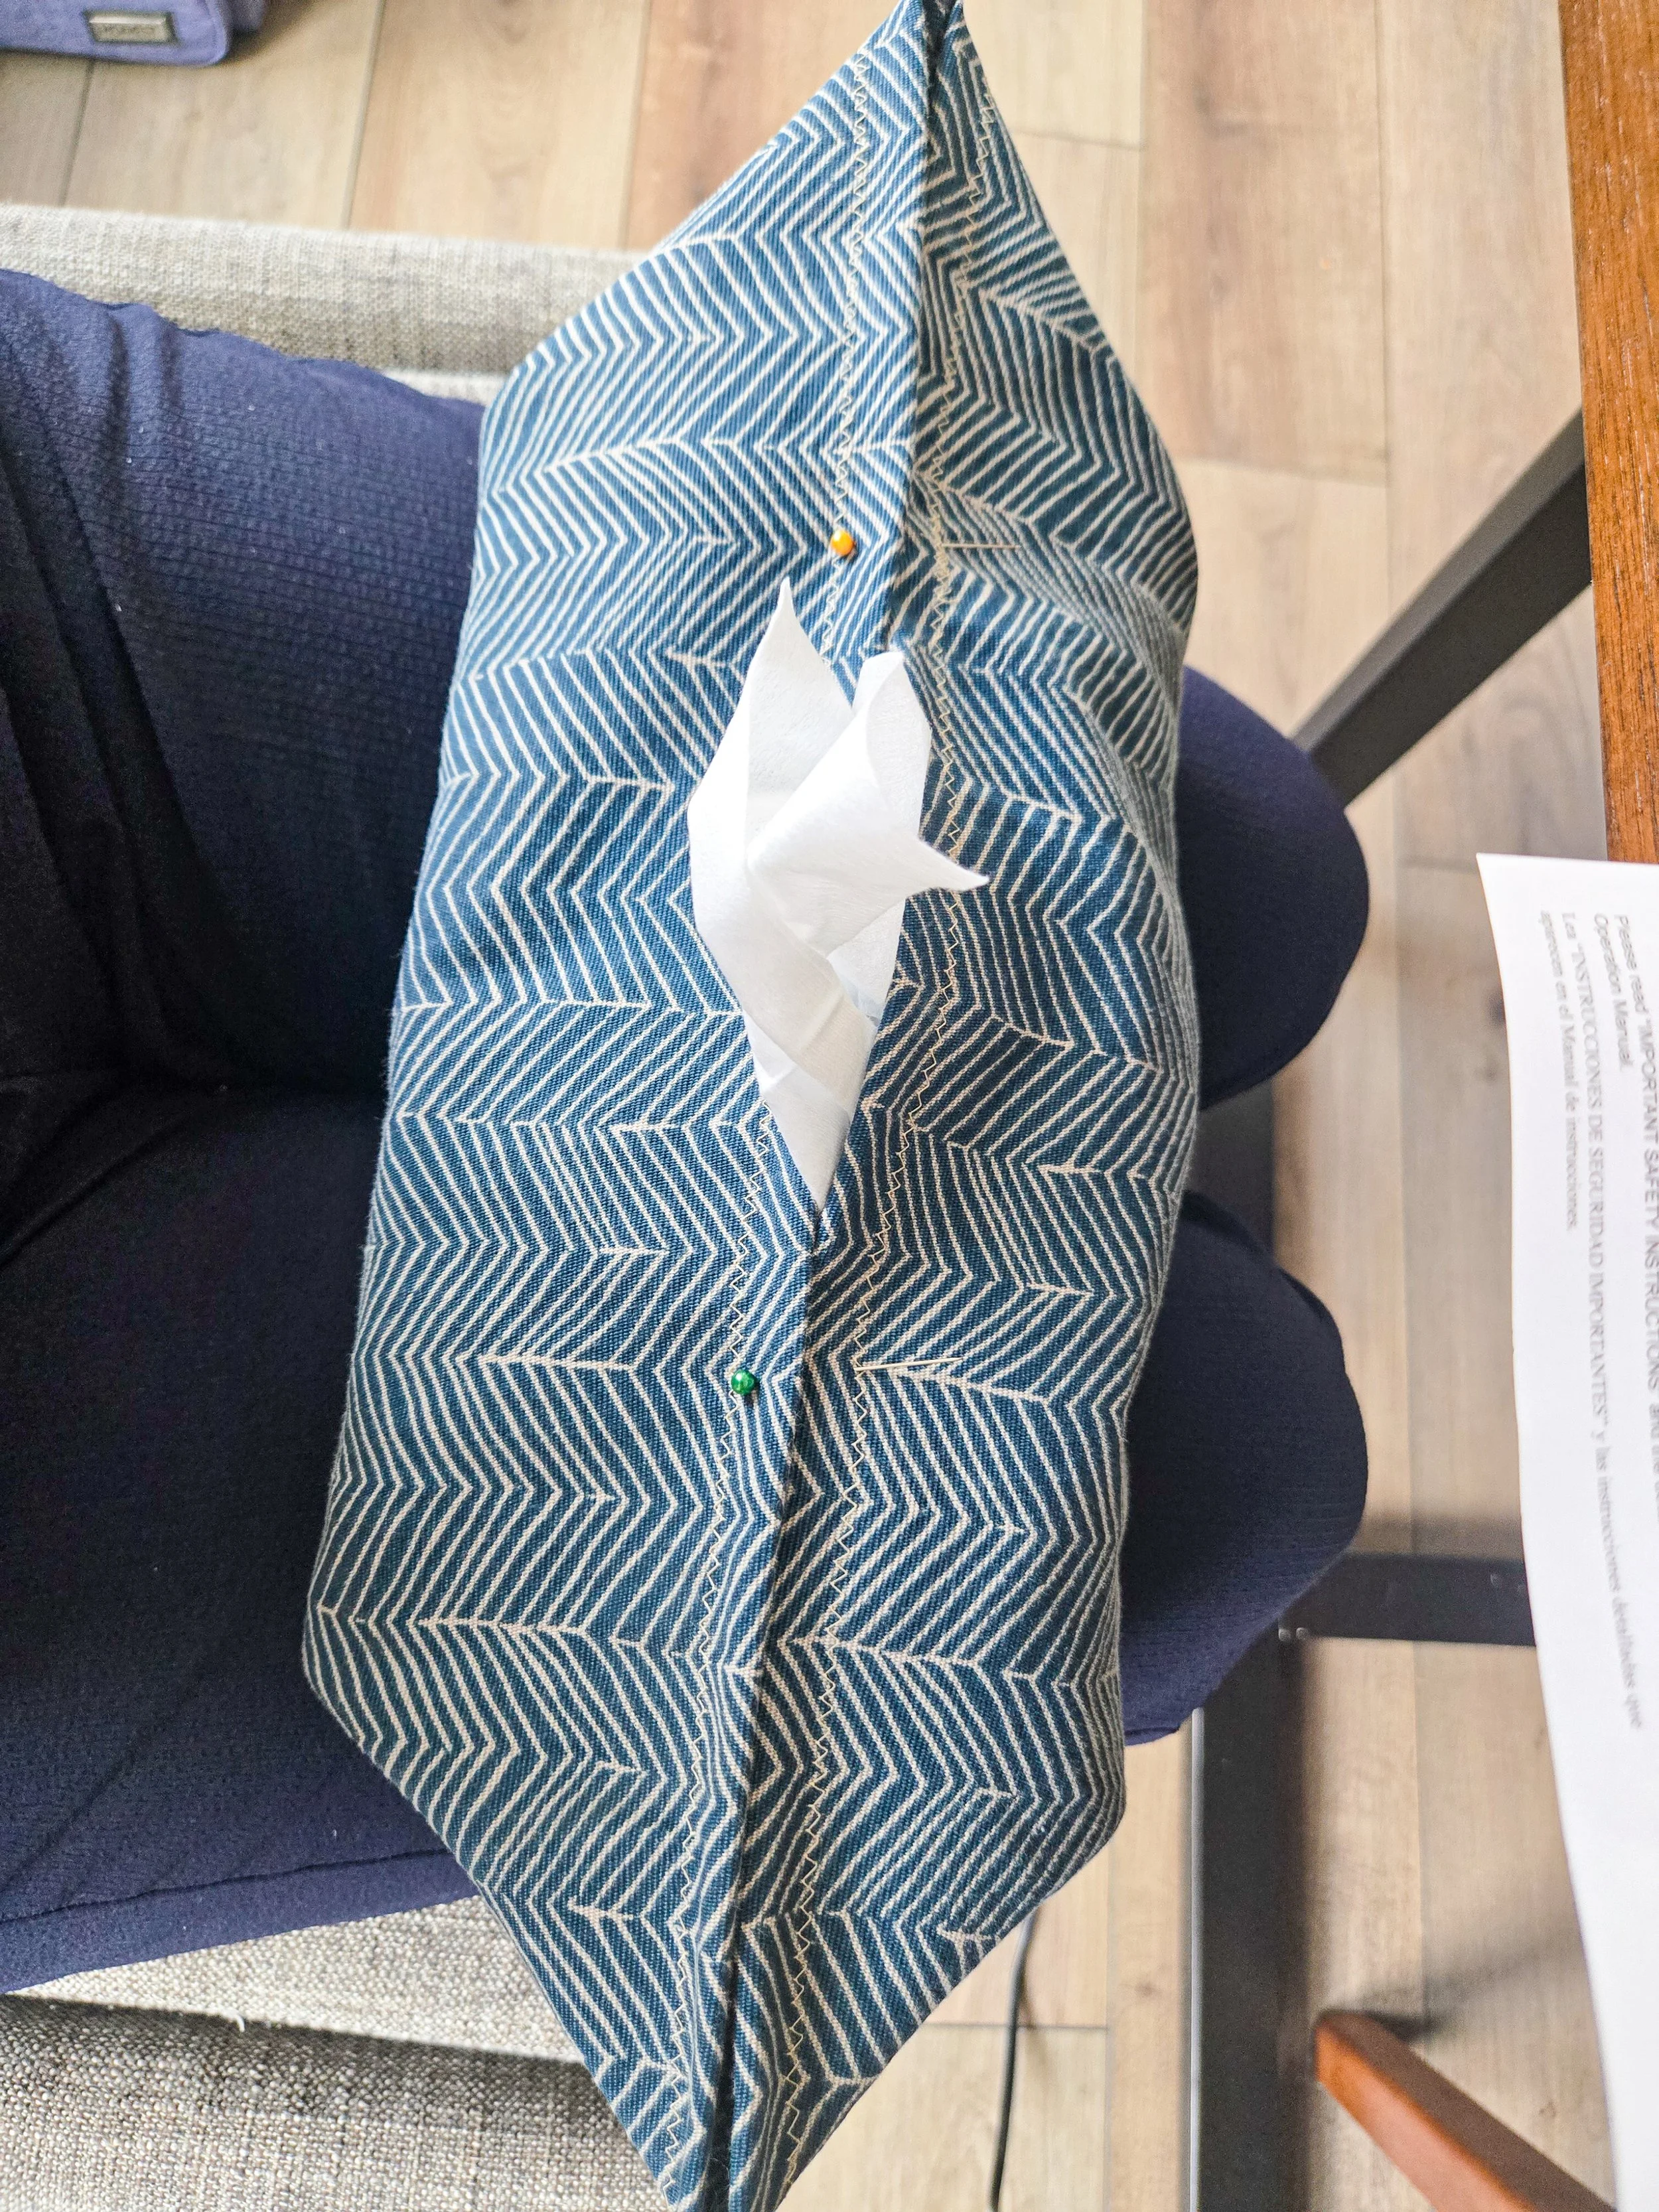
3. Finding a shortcut that worked
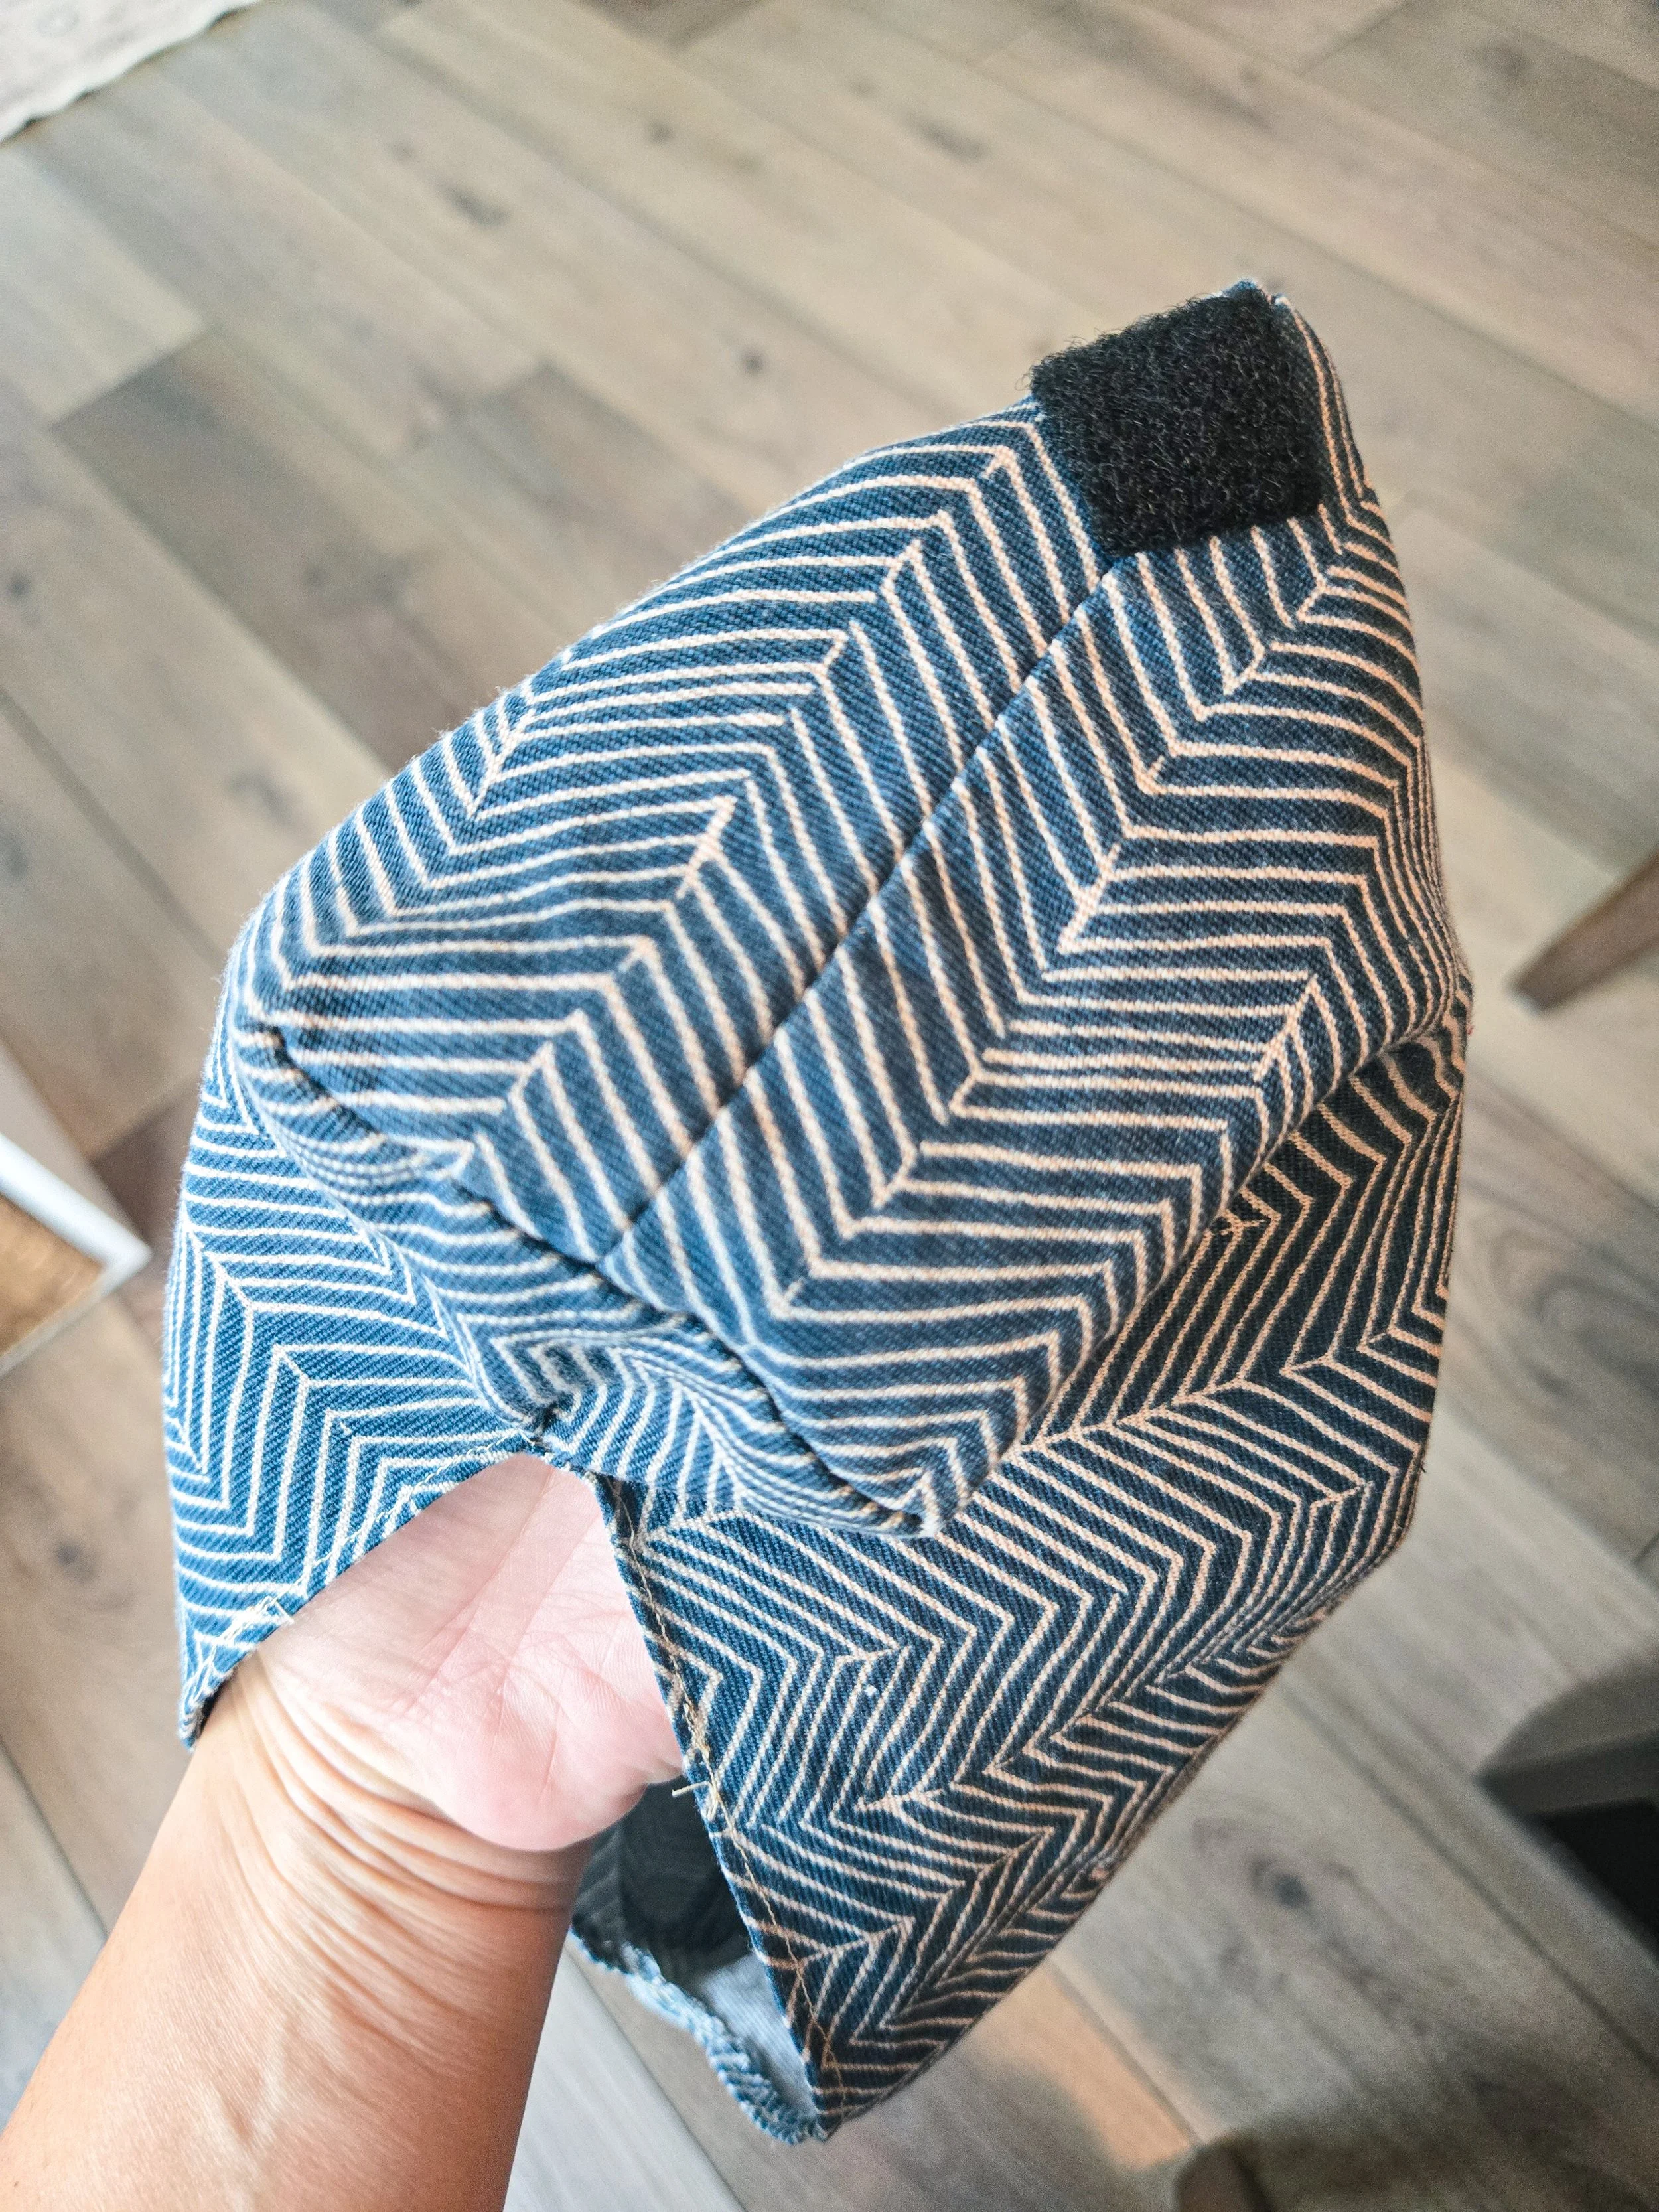
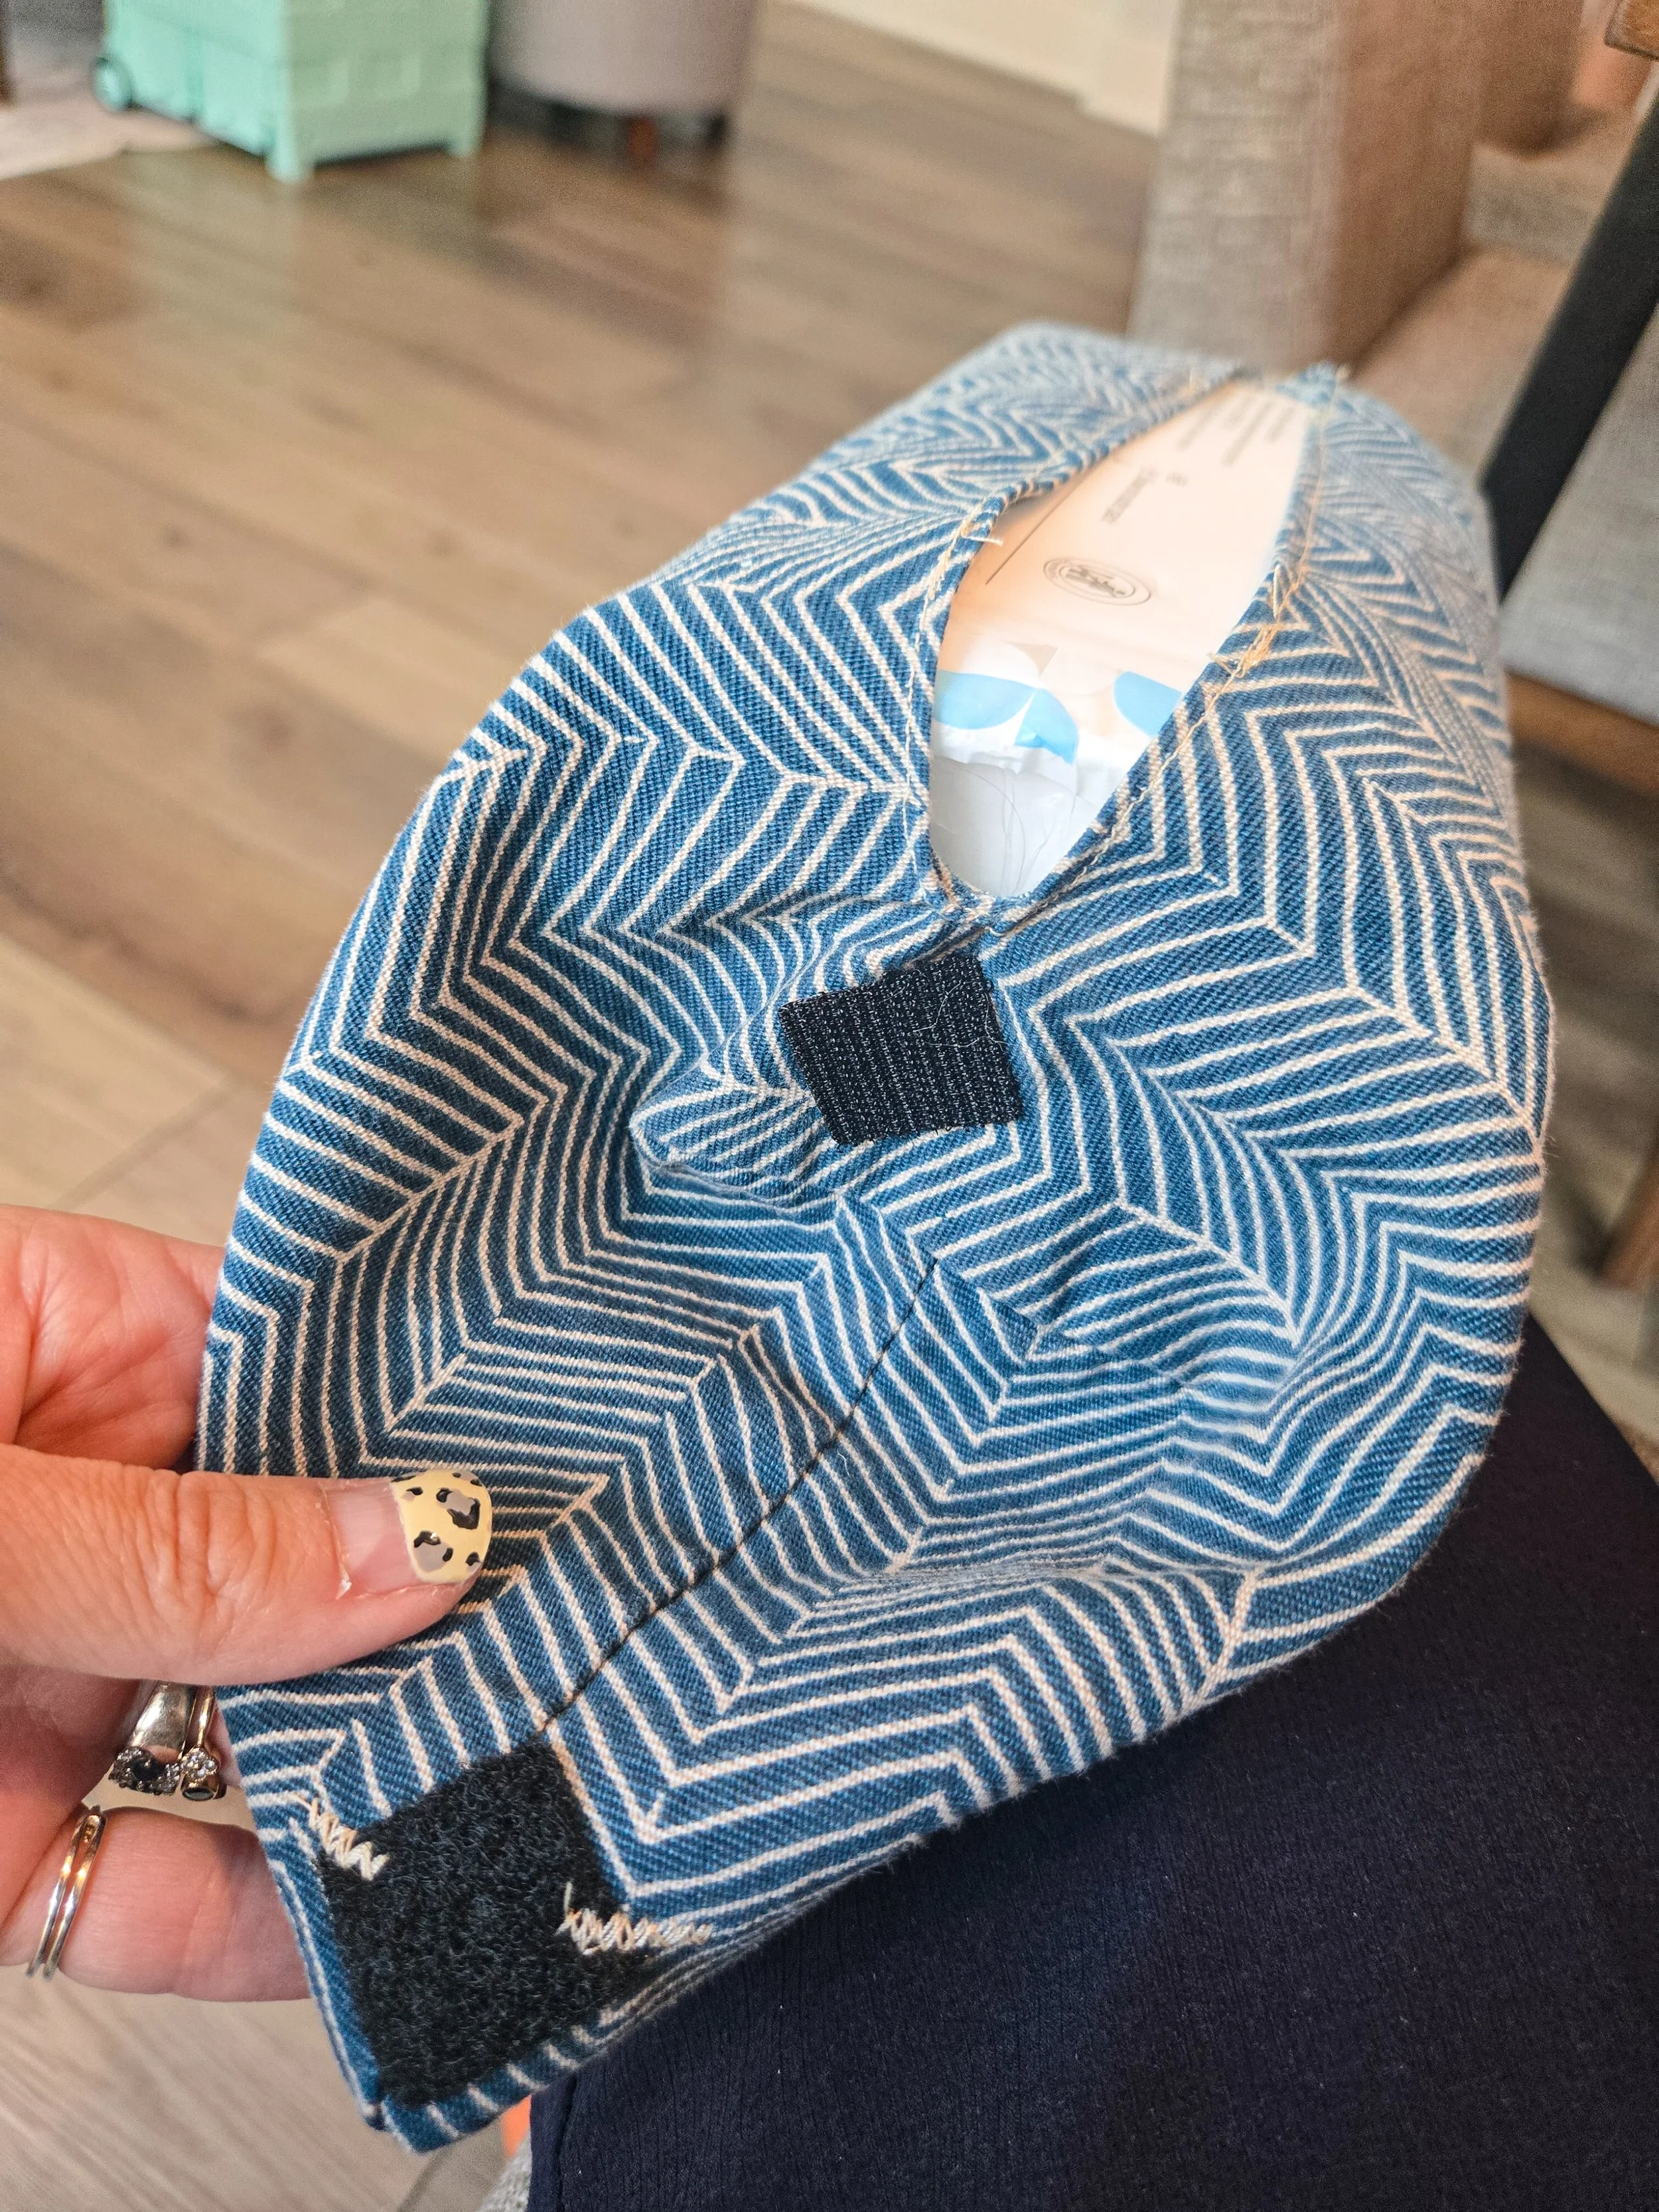
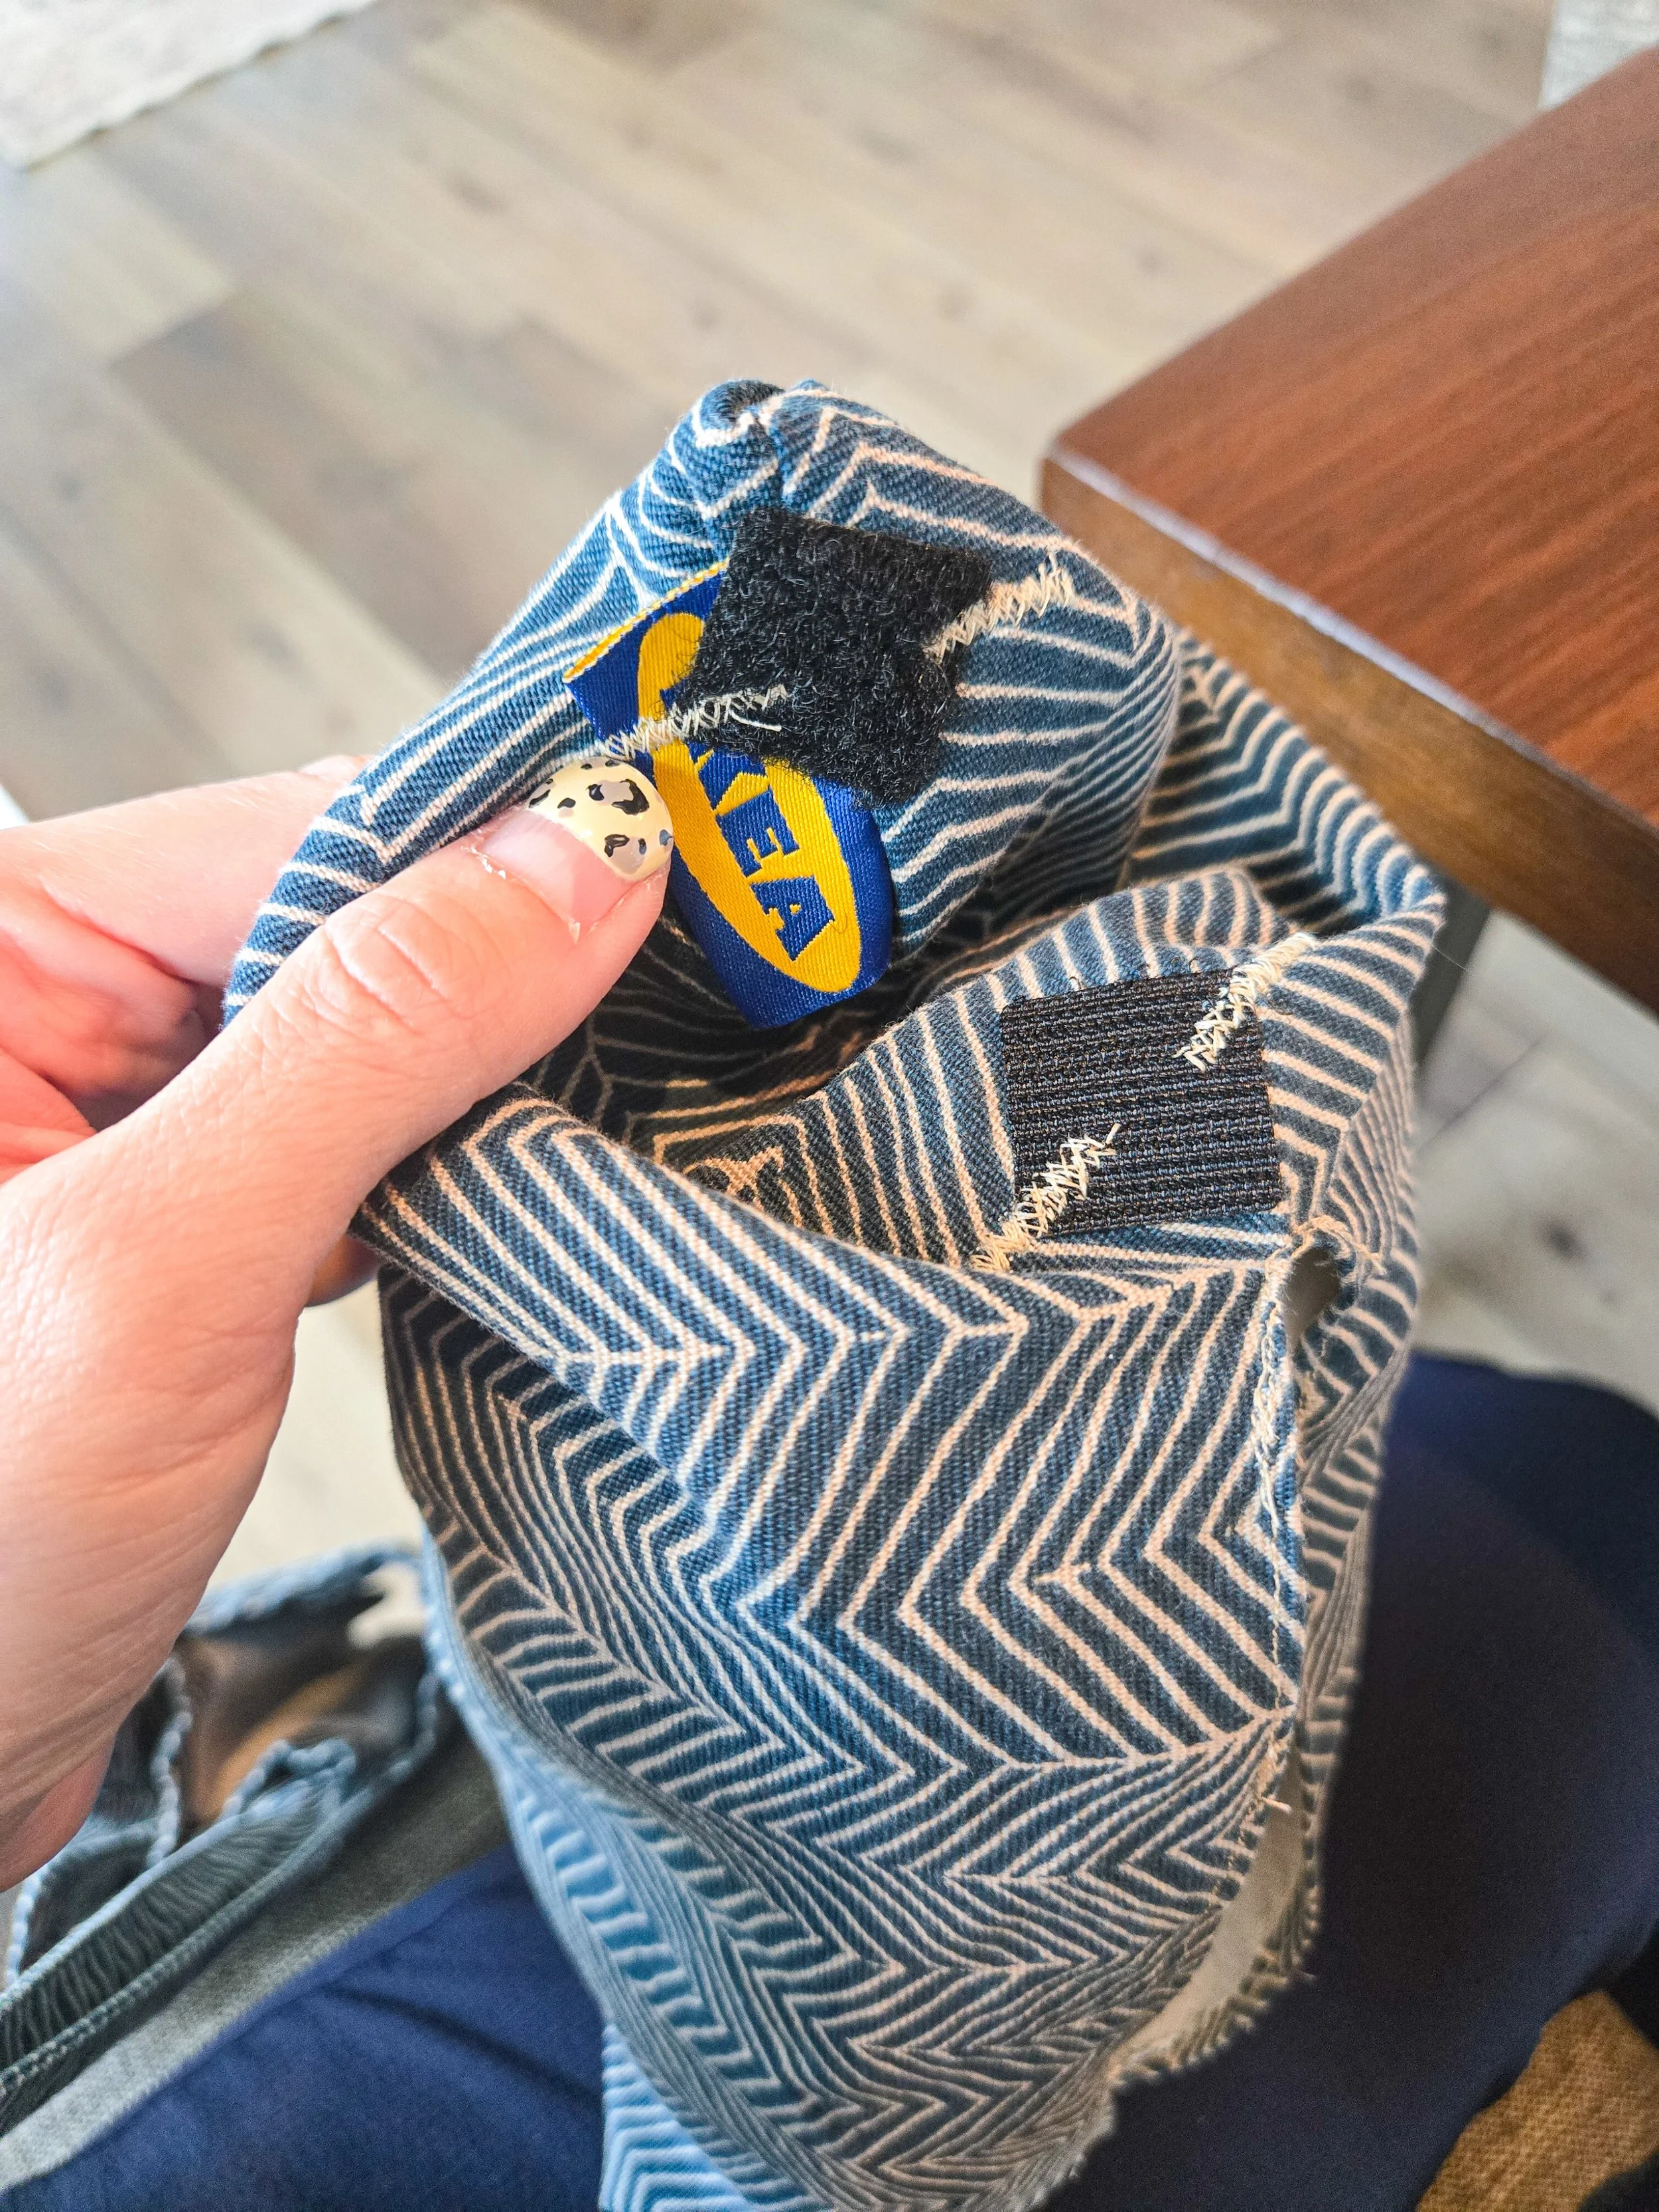
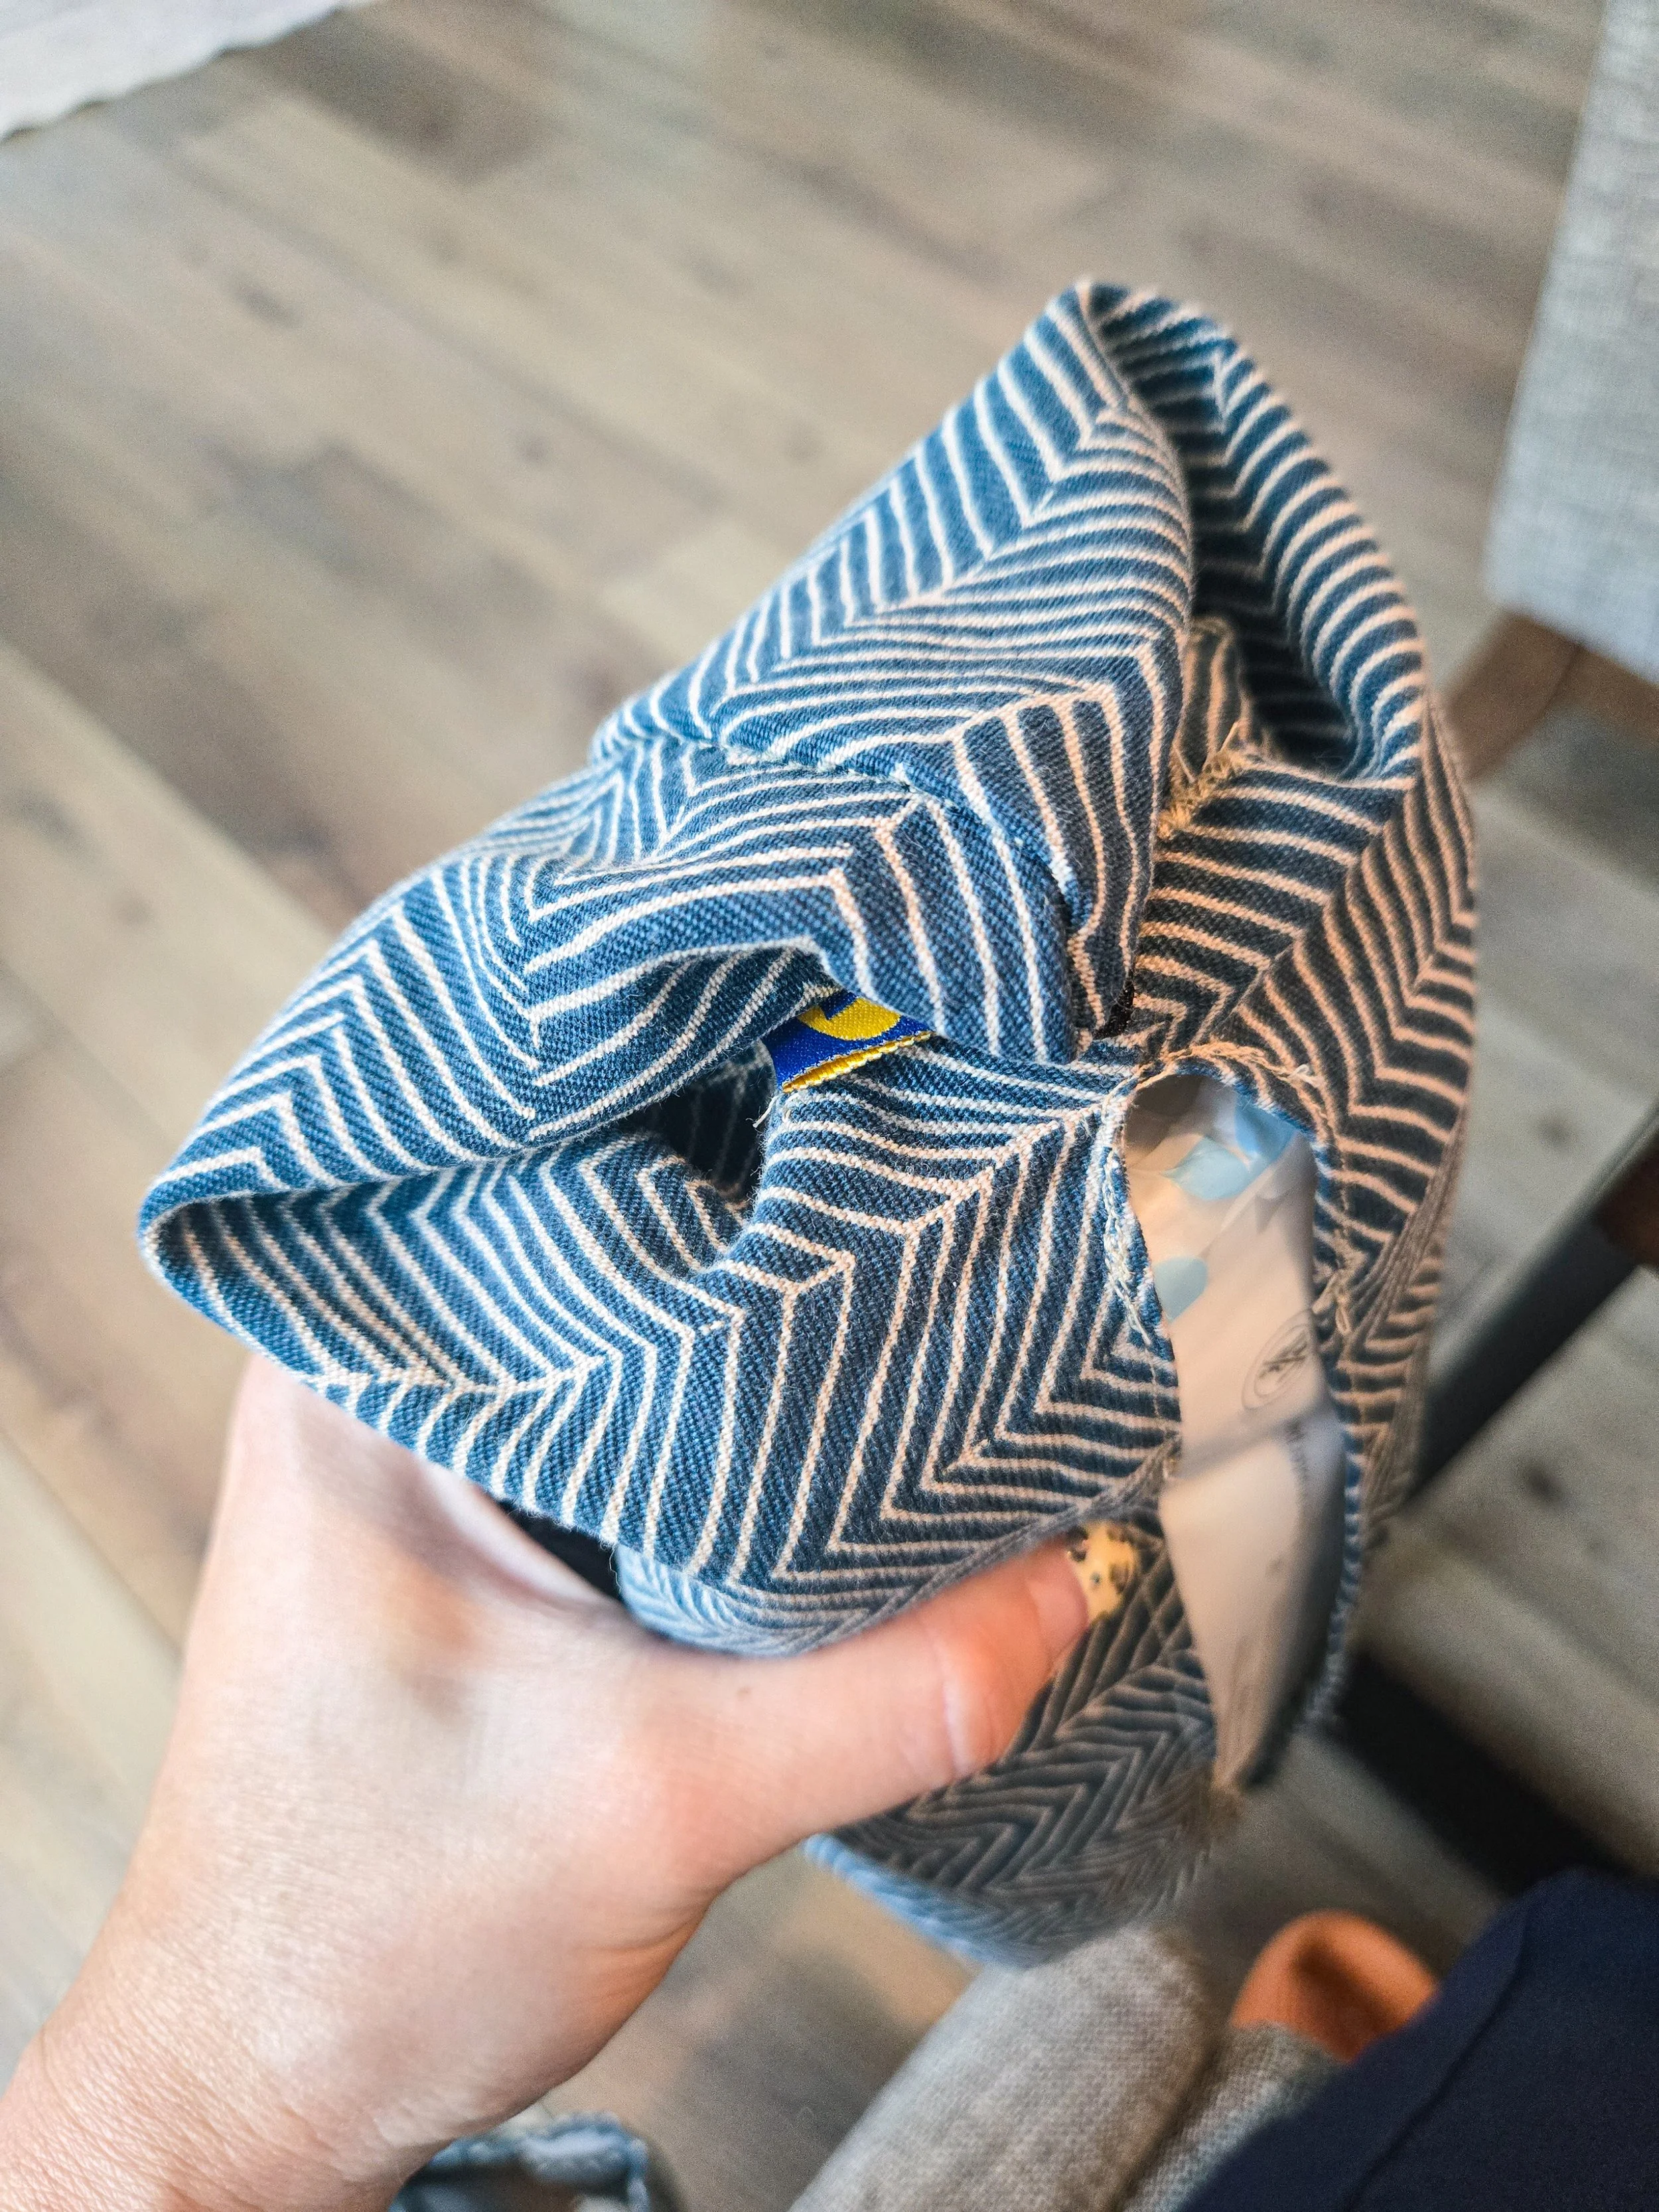
With the clock running, I used velcro instead of sewing a proper closure — mostly to save time. But it ended up doing more than that: the tabs pull the corners in just enough to create these small square side pockets, giving the pouch real volume instead of sitting flat. The little black squares also read as a nice quiet accent against the chevron. A shortcut that turned into a favorite detail.
4. The finished pouch
Now it hangs by the mirror, holding tissues instead of groceries. I'm glad I didn't let that print go to waste — an hour well spent.